The second part of this series covers a number of things I do to get my terminal environment just right.
Homebrew
The very first thing I install on a mac is this package manager. We’ll be using a lot of it later.
iTerm2
Arguably the best terminal emulator available on any platform. Download link can be found here.
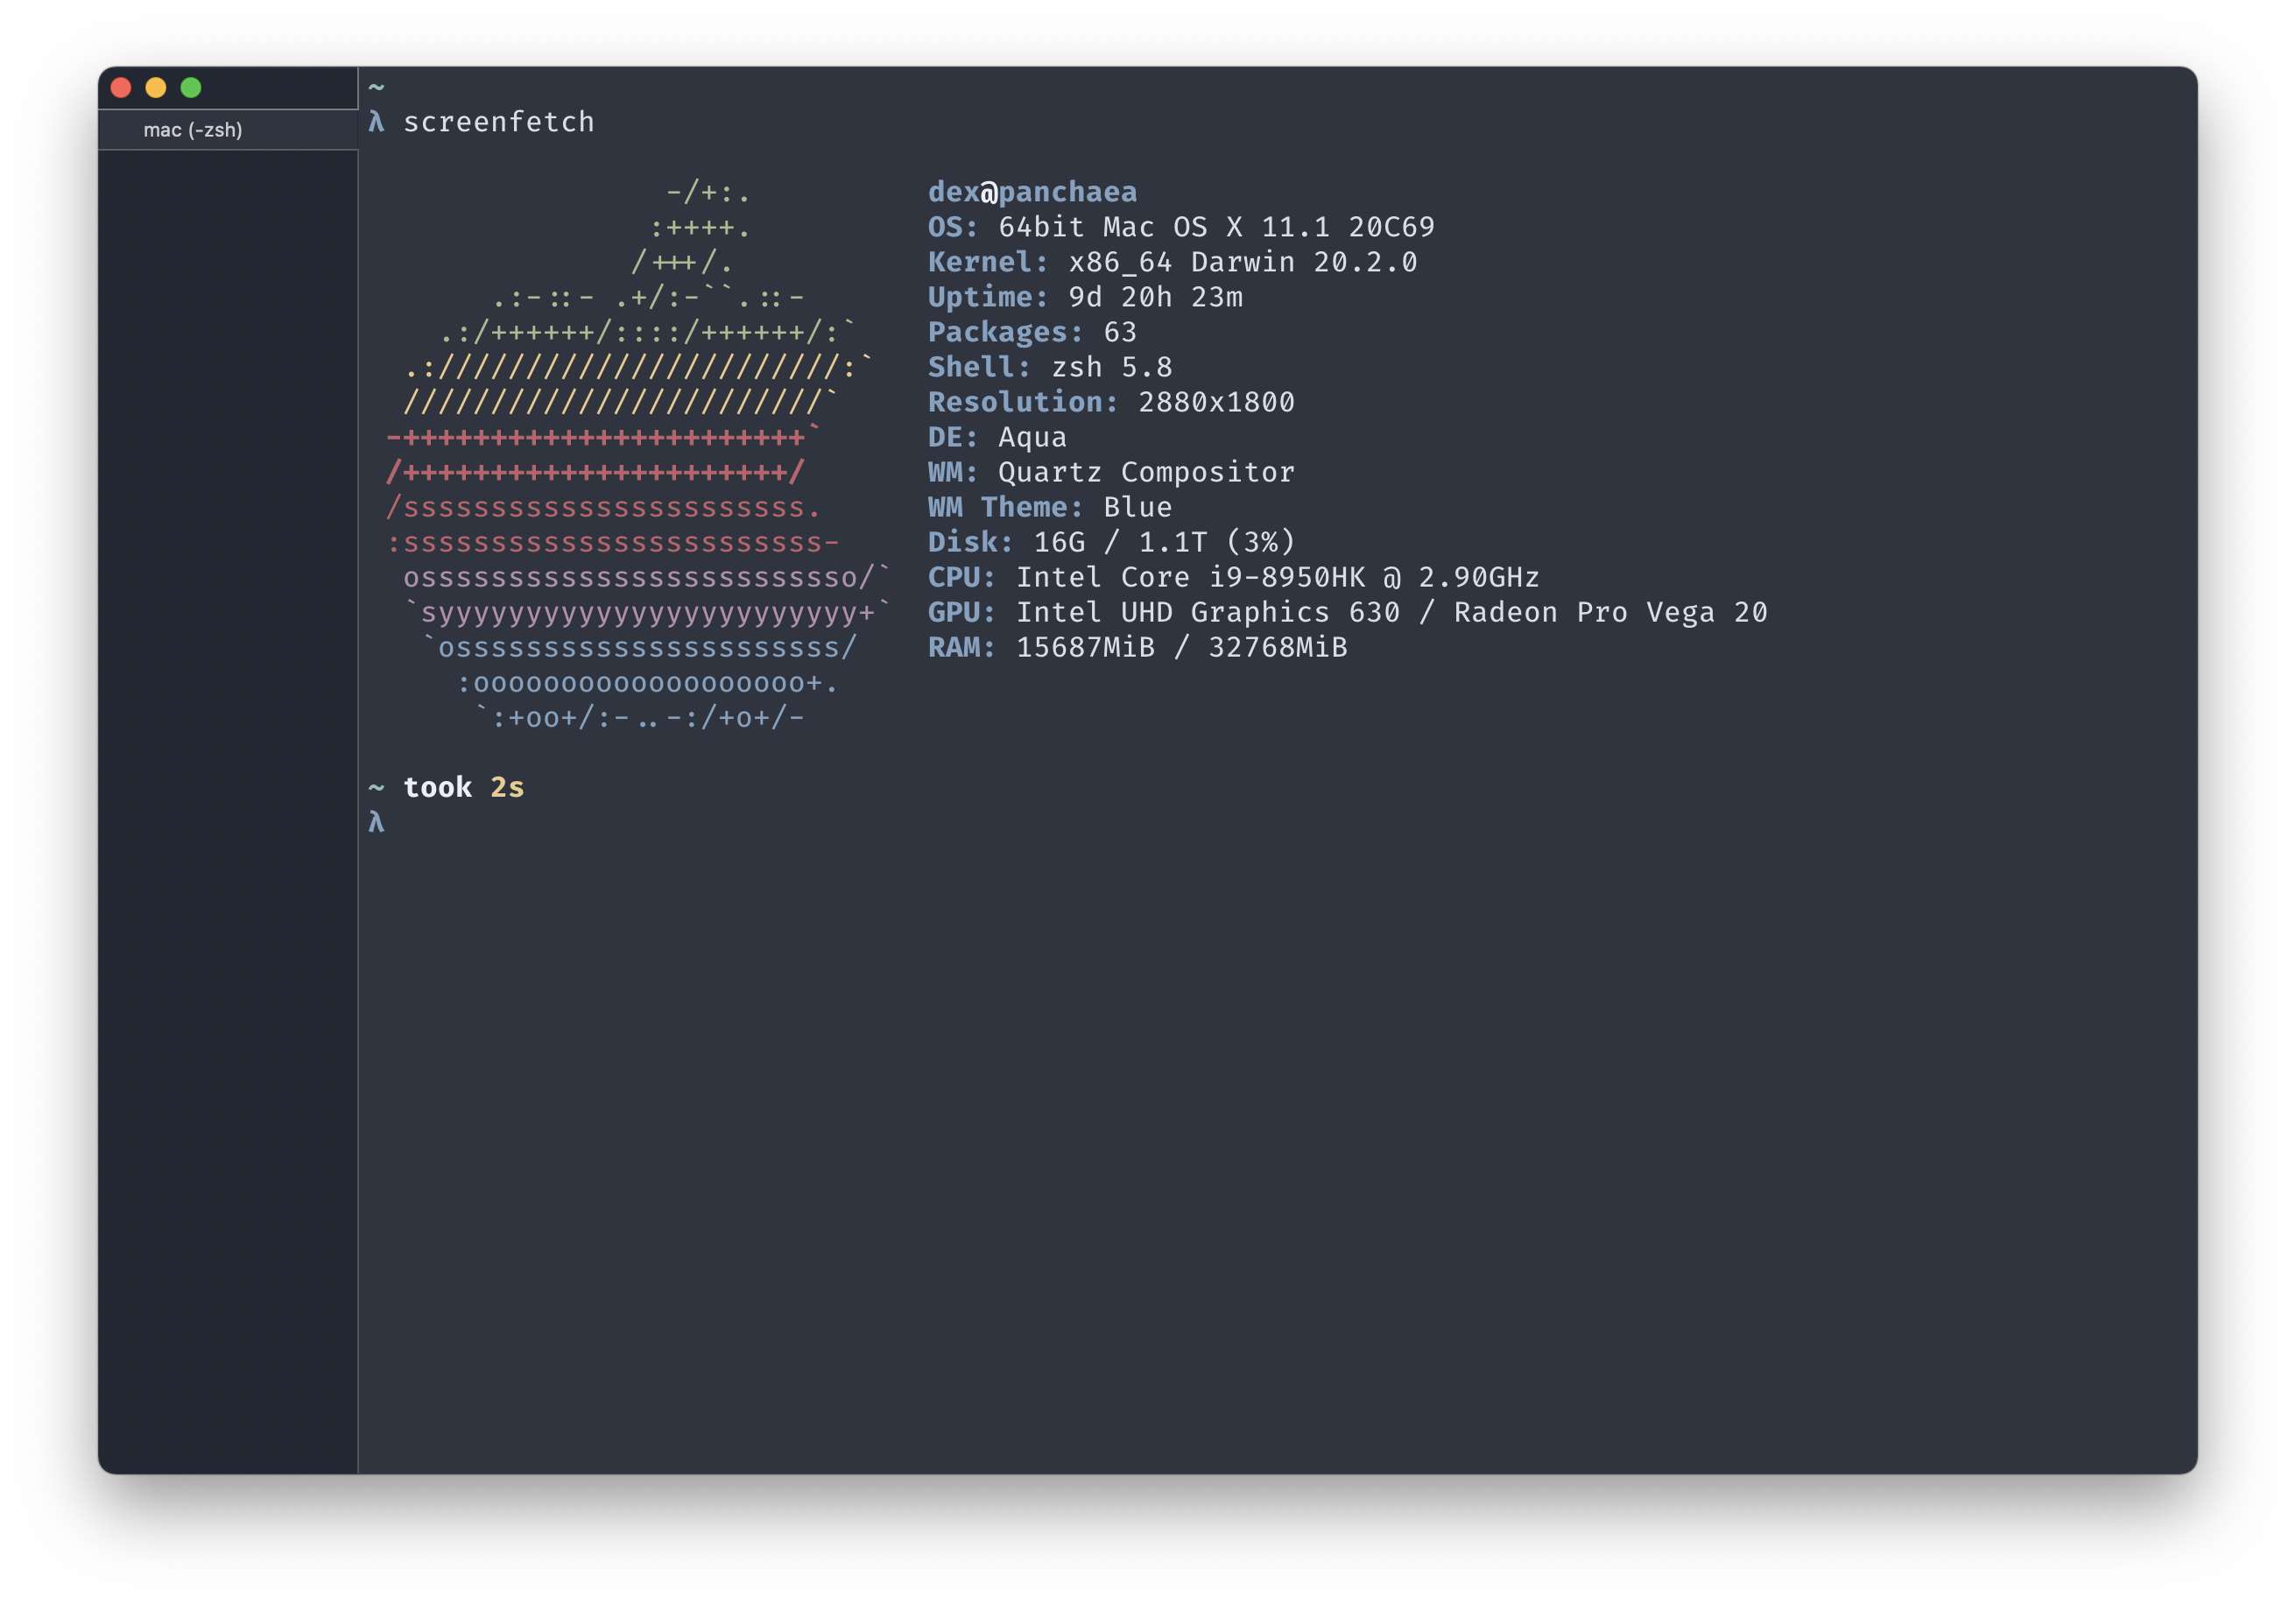
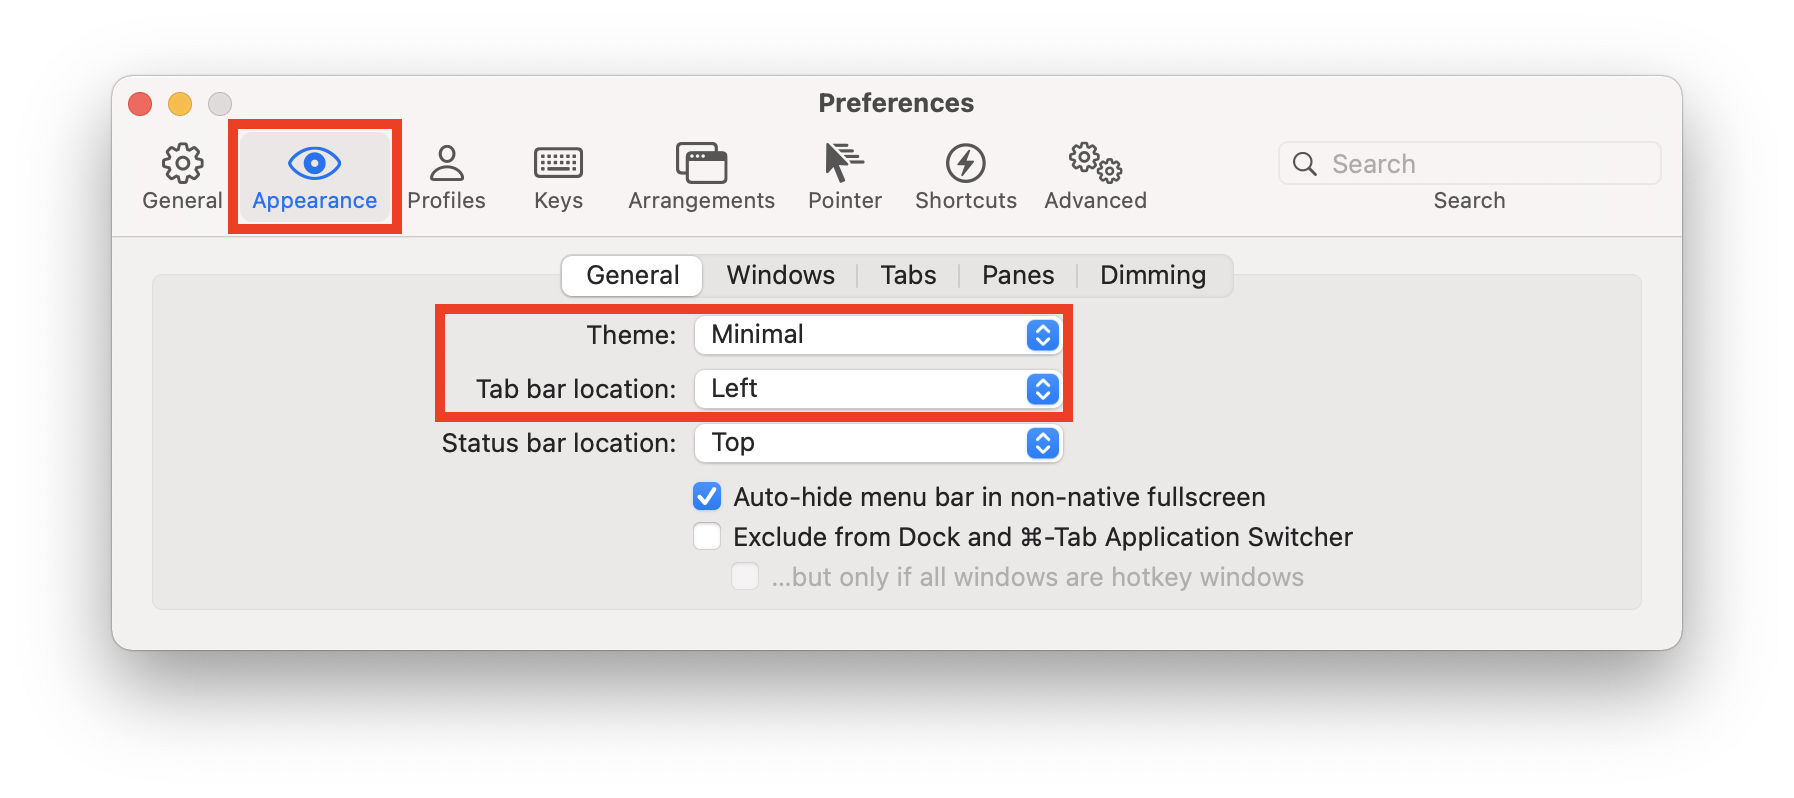
I set a couple of preferences to get the minimal look with the left vertical tab-bar:
Colorscheme
Next up is the colorscheme. I use Nord, a blueish pastel palette of colors that has been ported for a number of applications. This is a really nice colorscheme that I use for any program I can theme - a muted artic-tinted scheme but colorful enough to be easy on the eyes. In this case, I use the port for iTerm2.
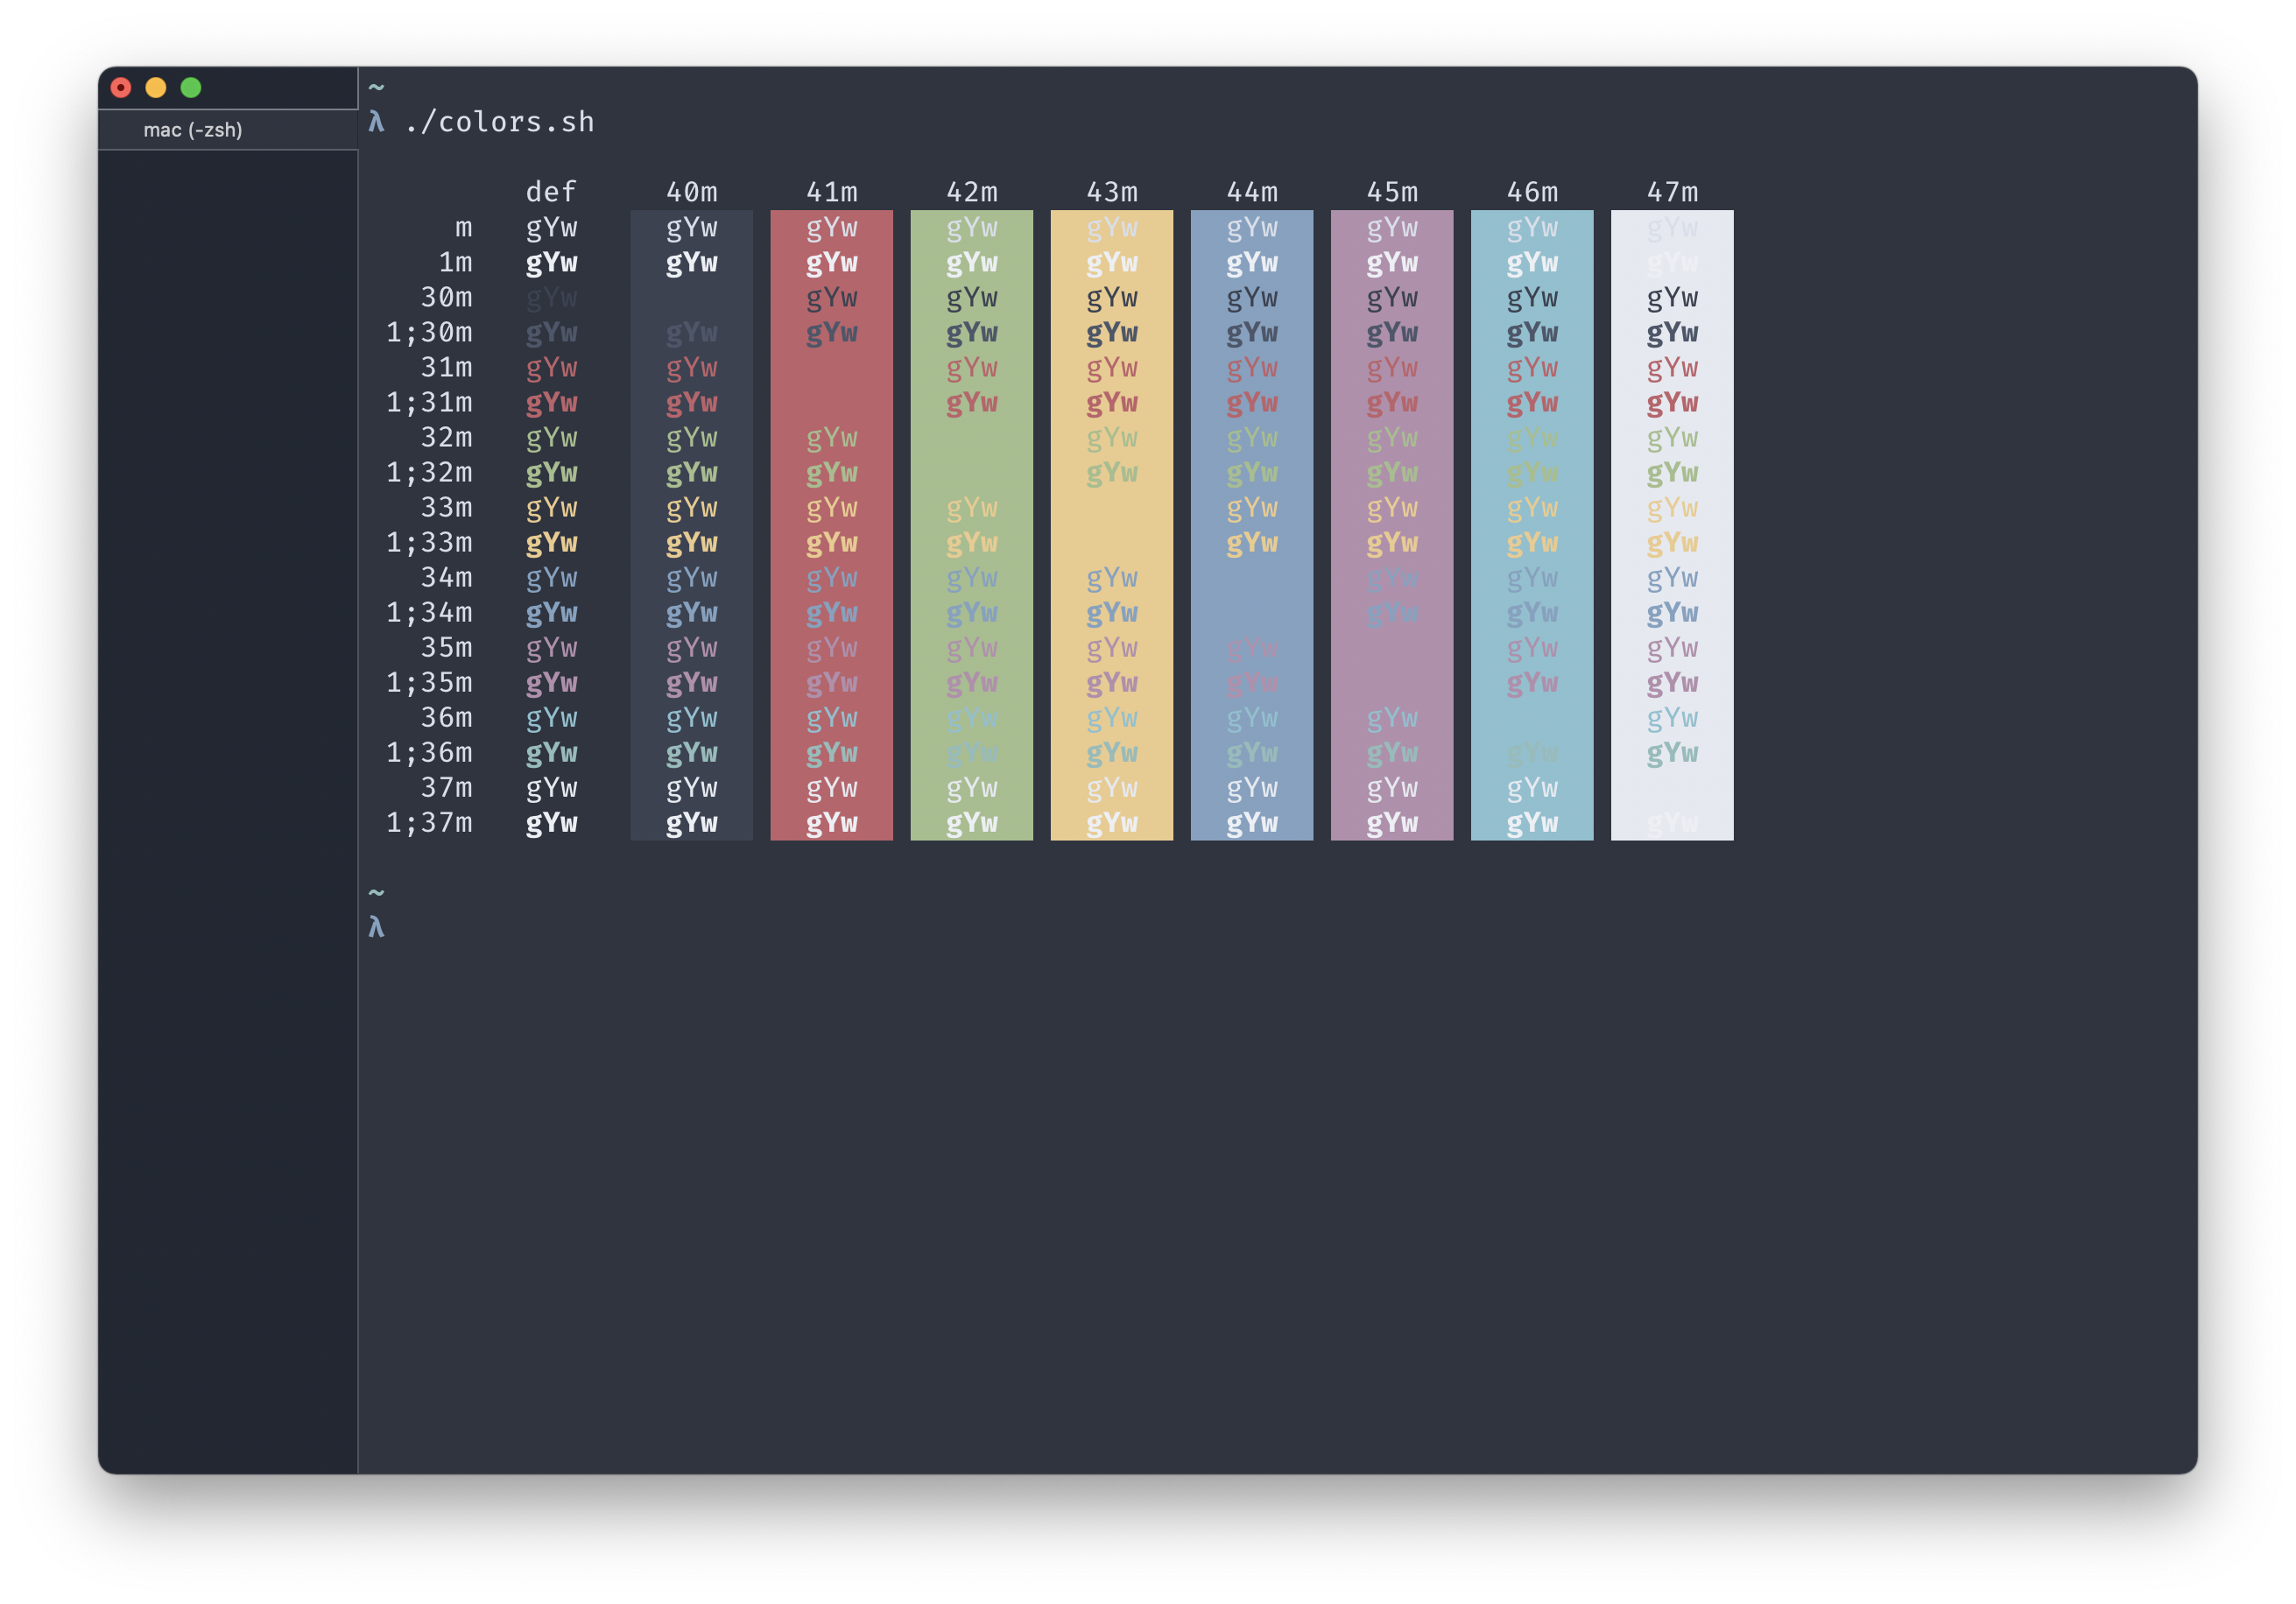
The repo has instructions to install the theme: Getting Started
Additionally, I make one tweak to the colorscheme - swapping the selection highlight color so it stands out better:
RGB Hex Codes:
Selection: #d8dee8
Selected text: #3b4251
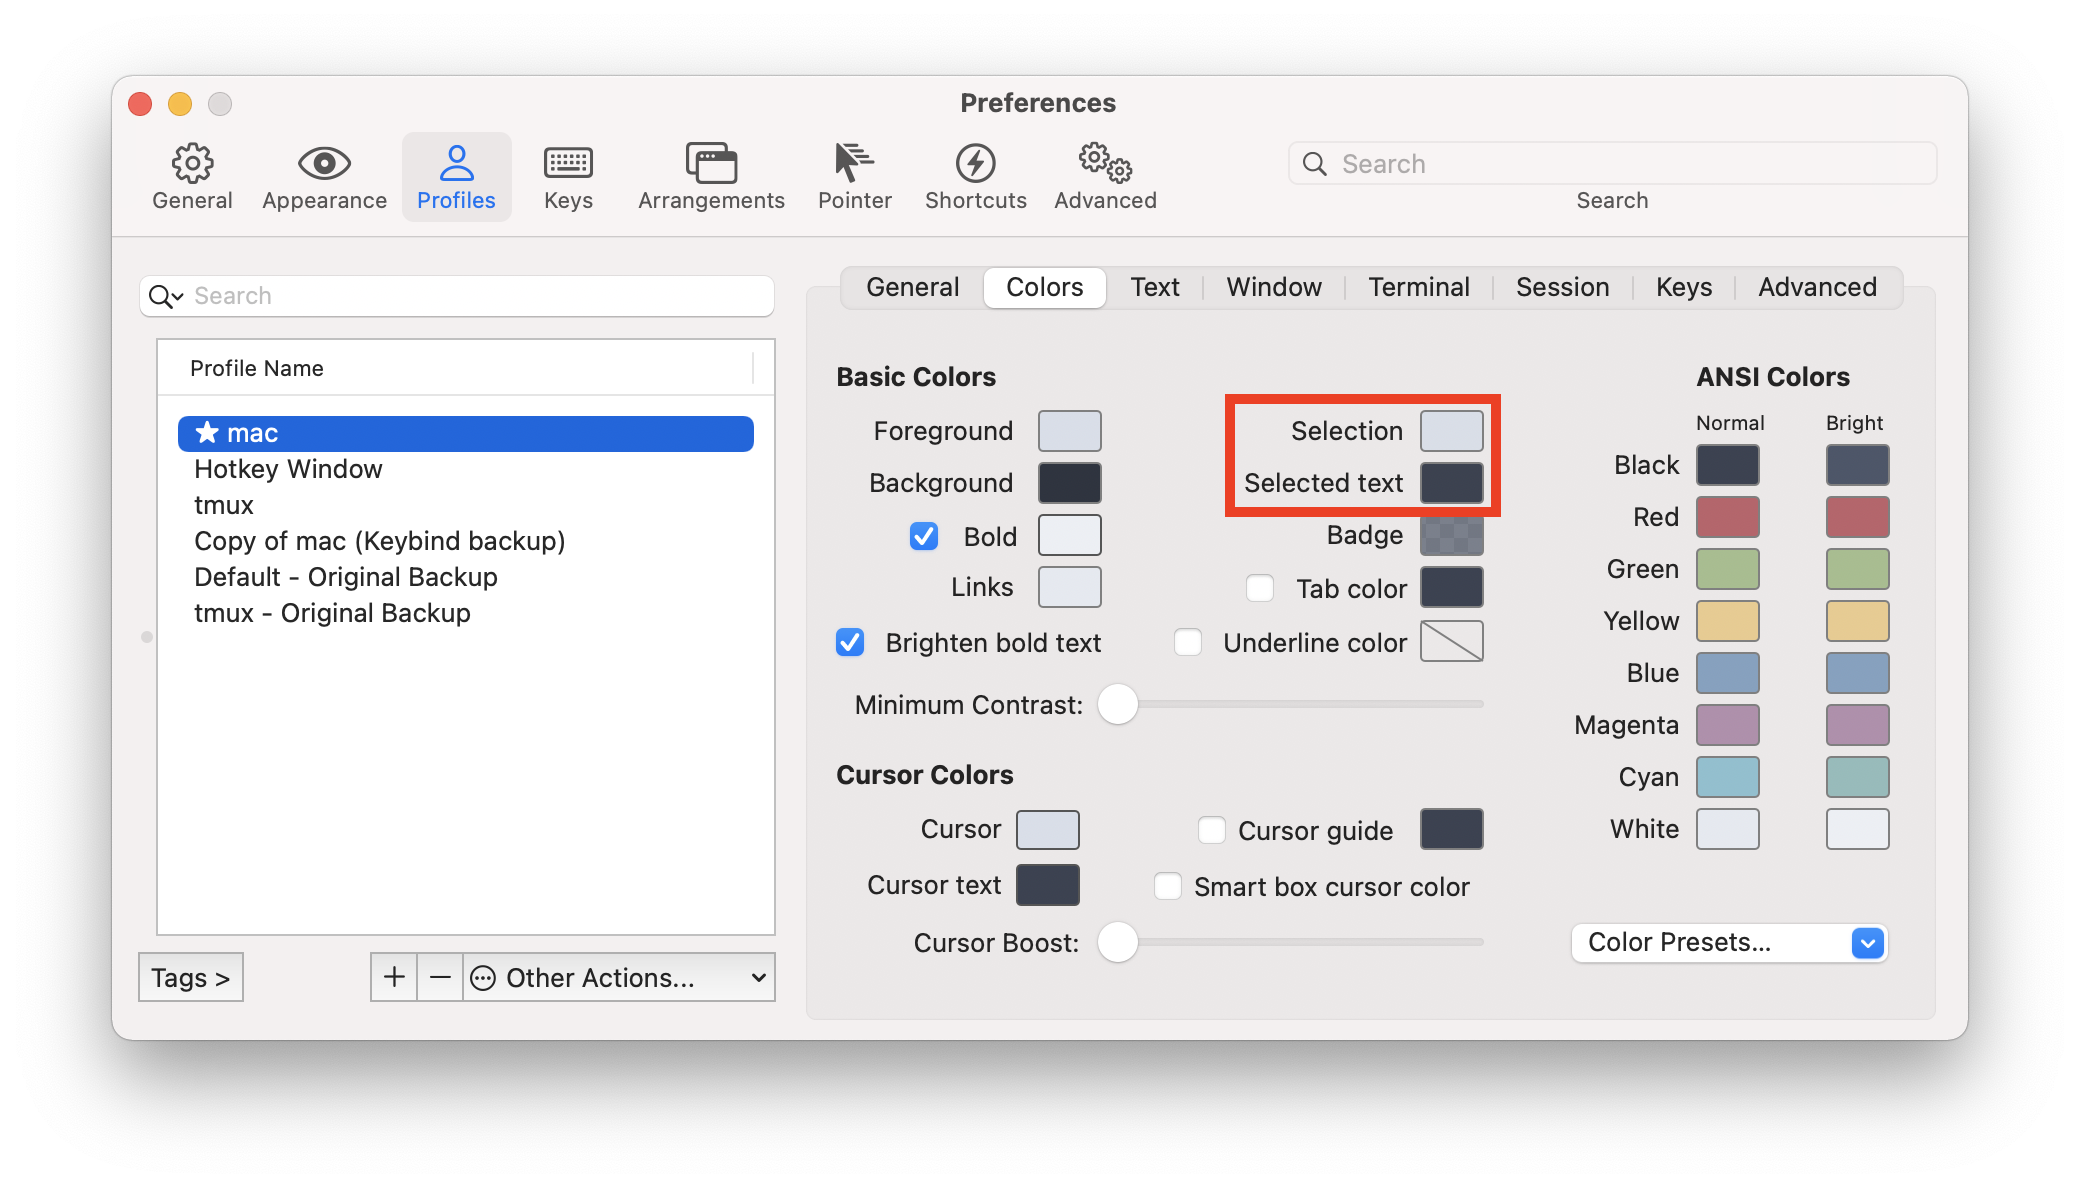
before vs. after:


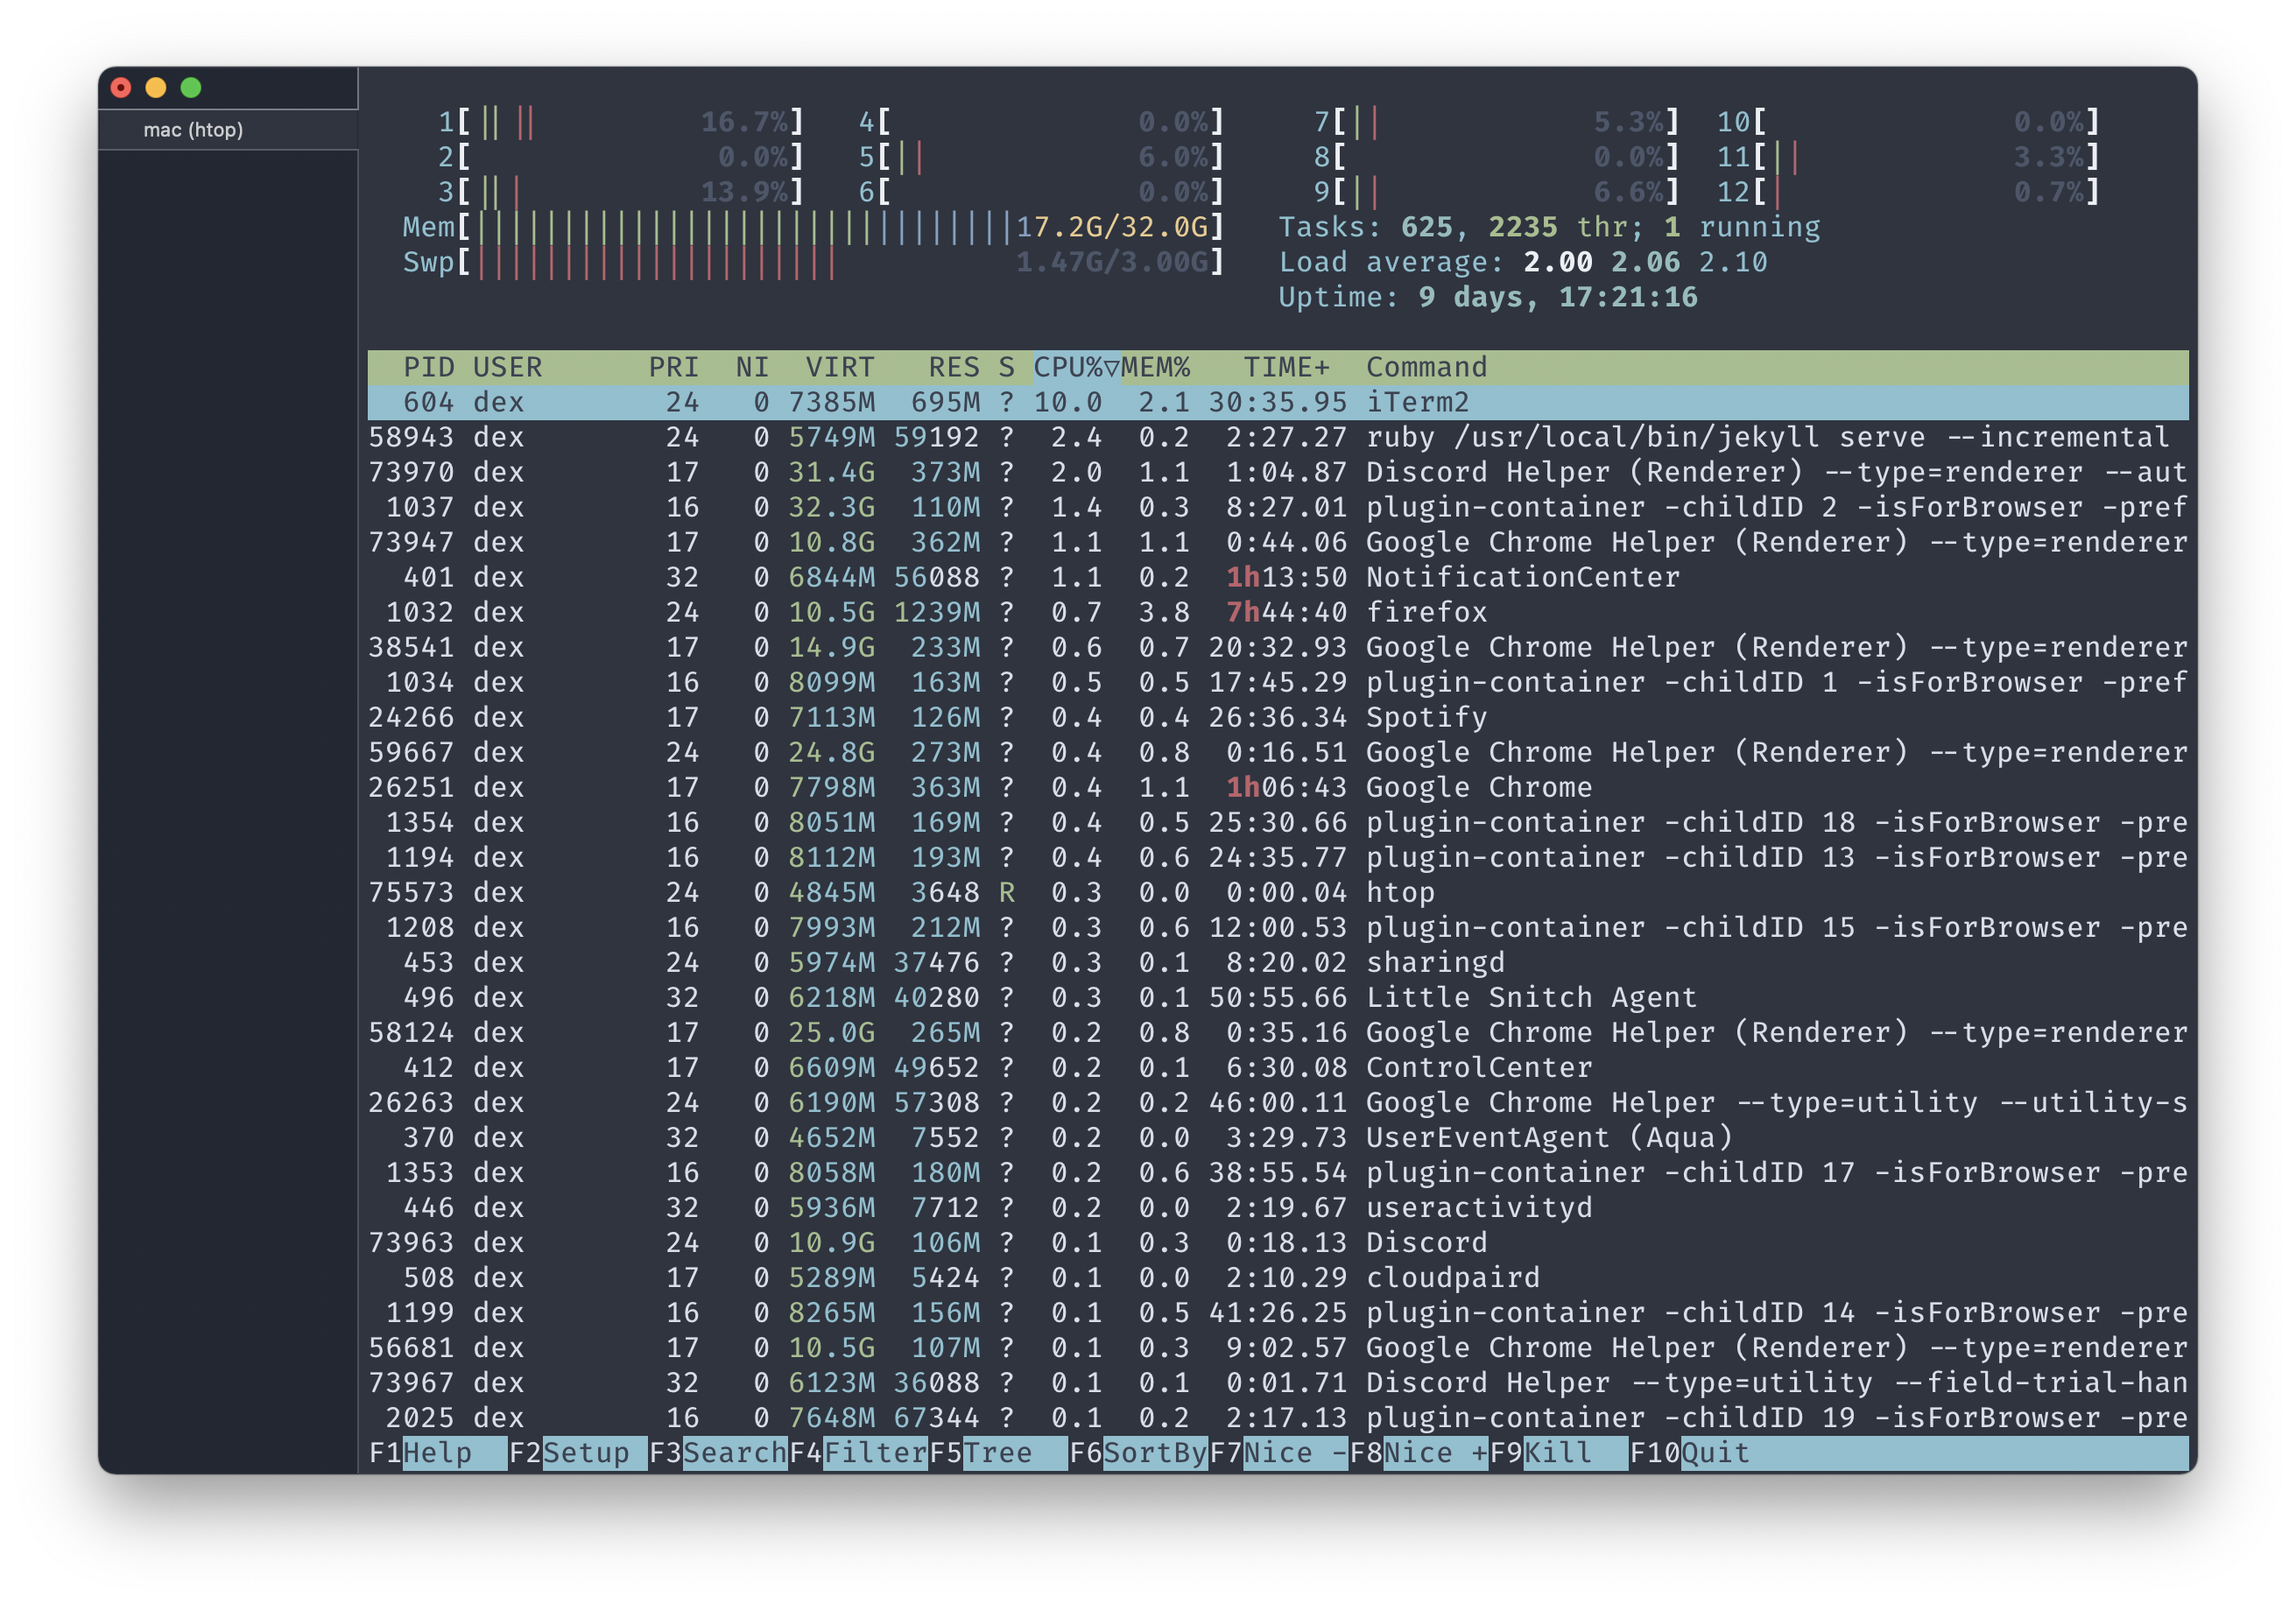
And a preview using a colorized terminal application like htop:
Font
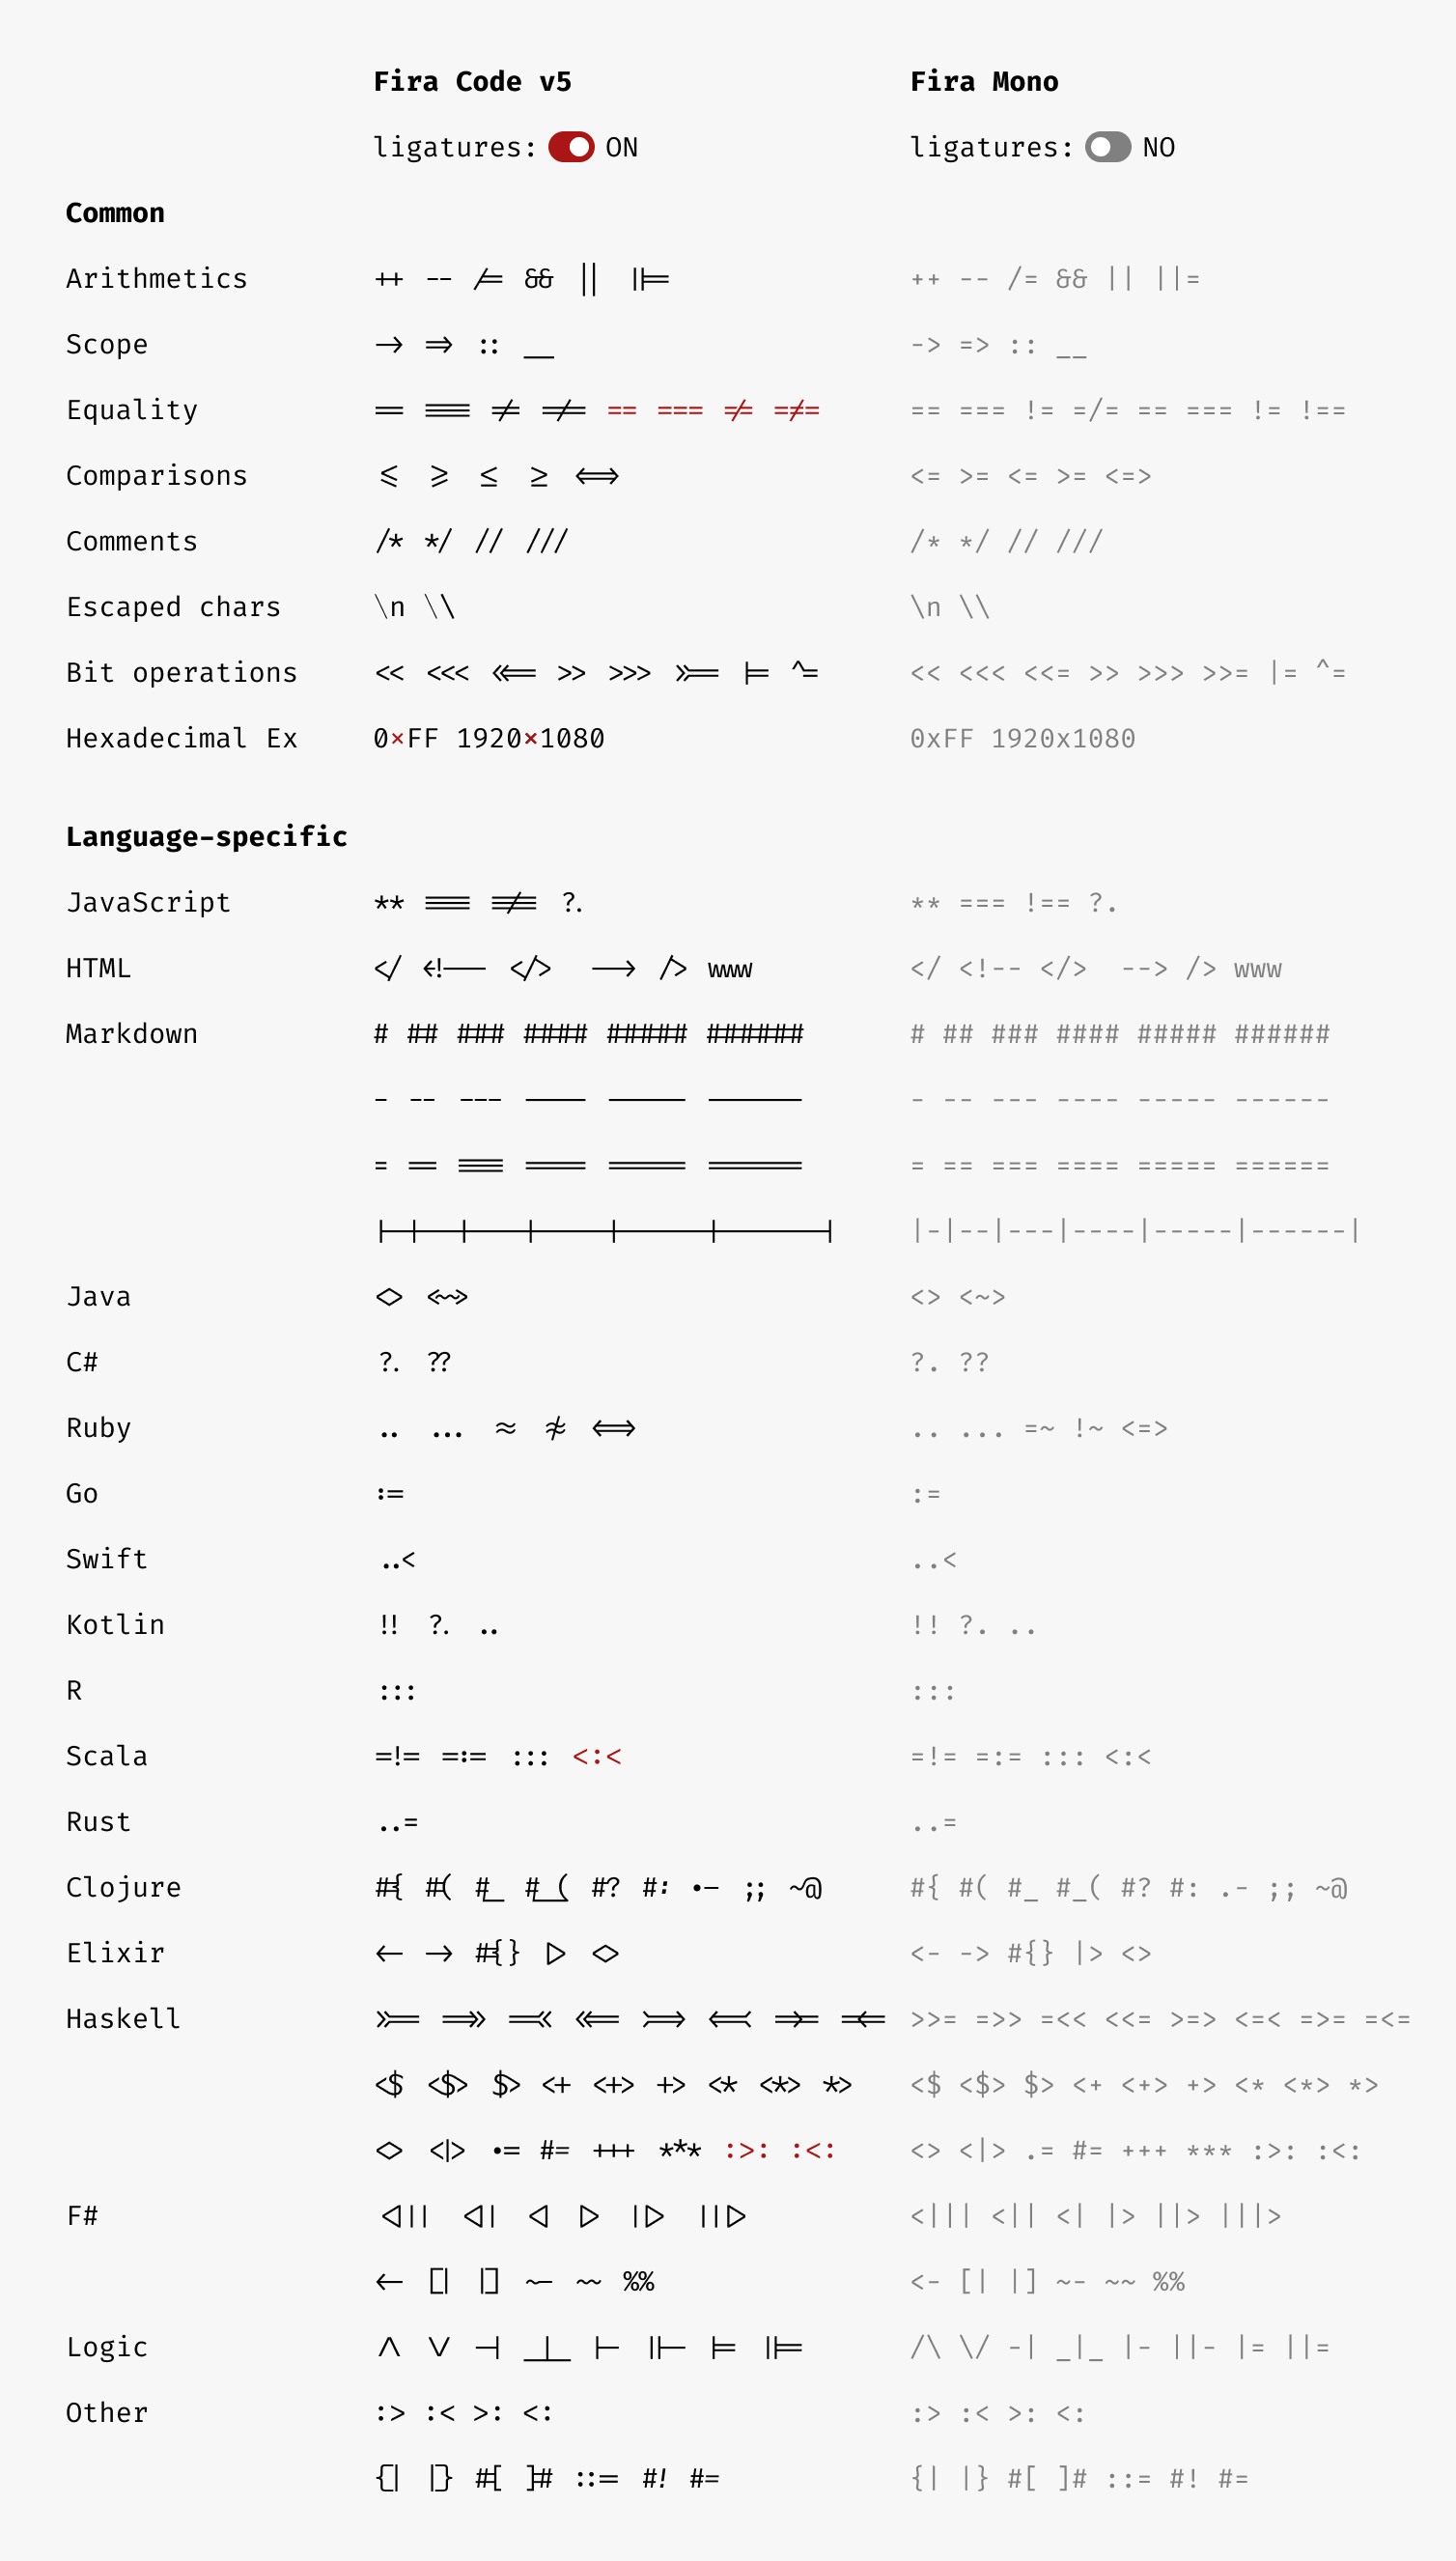
A really good font is a huge deal for me - it makes a massive difference when visually scrolling through code all day. I prefer monospaced fonts that make it easy to differentiate between similar characters such as l/1/I or O/0, and additionally have nice ligatures that convert certain character combinations into their logical representation, like -> into an arrow.
The font that has really stood out for me & stood the test of time is Fira Code Mono:
It can be installed through Homebrew with:
$ brew install --cask font-fira-code
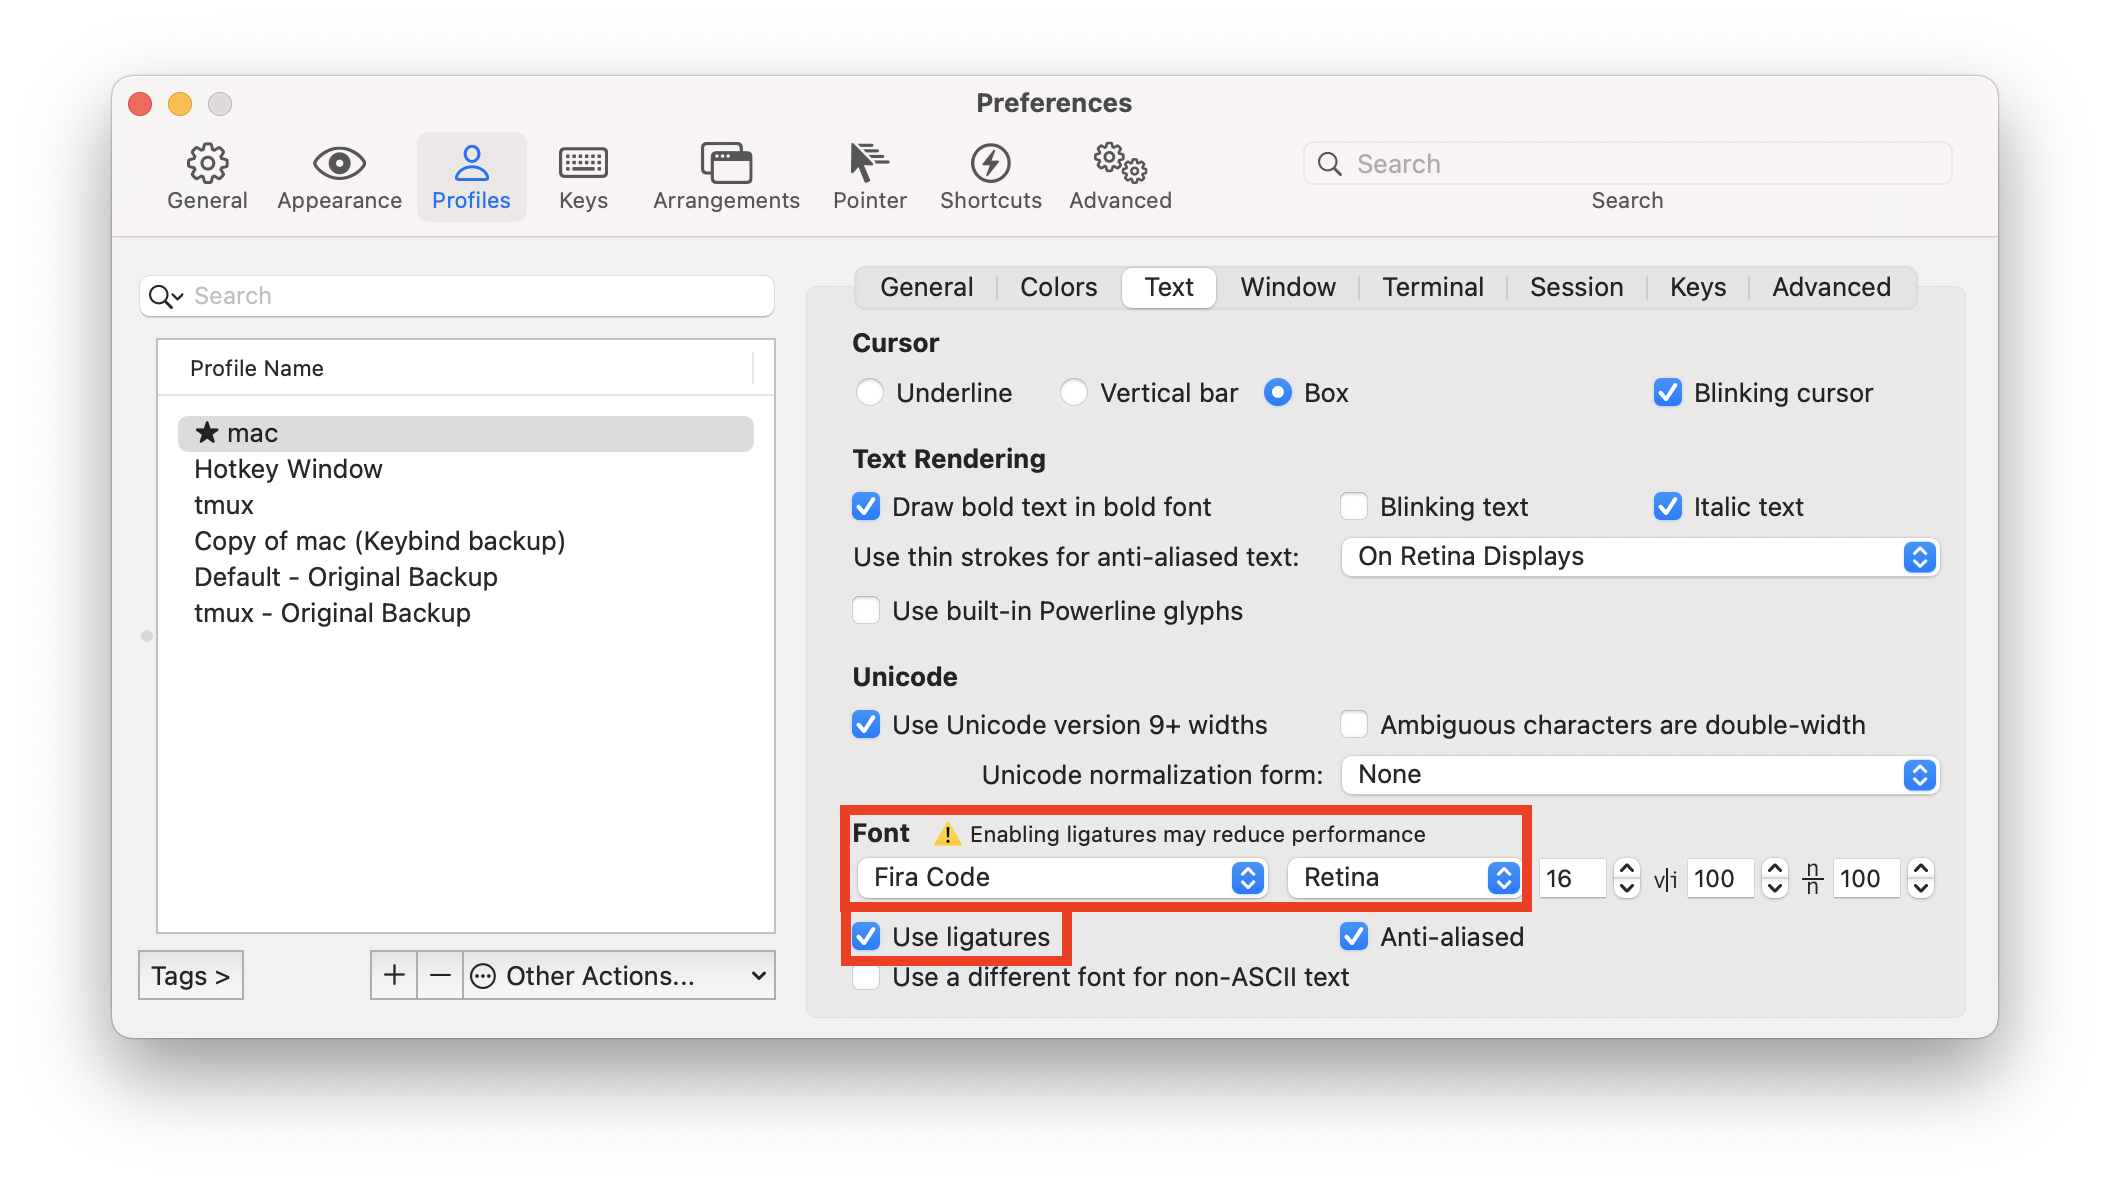
To enable it in iTerm2, select it in Profiles and be sure to check the “Use ligatures” option:
That’s it for this part! Coming up will be configuring ZSH, setting a custom CLI prompt, and covering a number of CLI tools that I use to speed up my workflow.