In this post, I’ll be covering how I use docker-compose to spin up Tor, a network-isolated webserver, and a monitoring tool called Nyx all in their own separate containers. It’ll be used to host this blog on Tor.
While I take a lot of steps to make this setup as locked-down as possible, I don’t make any claims to security. There may be (and very possibly are) a few glaring misconfigurations or bad assumptions that compromise Tor in a serious way, so don’t take this guide as a way to hide from state-sponsored actors ;).
If you notice anything like that and feel like letting me know, please open an Issue for this blog post on my Github.
The Tor version of this blog is hosted at:
devedge4ks4a4ht7xudrti3hvjlrakco5ahusic6fhc4dwavtzvla6id.onion
Table of Contents
Overview
In this setup, Tor will be running in its own container, will not have the SOCKS proxy enabled, will not be a relay, and will not be configured as an exit node. The control port will be enabled, but it will only be exposed on an internal network to the Nyx container, and will use cookie authentication instead of password auth. The Nyx container will be on its own internal docker network bridge, which isolates it from any outside communication.
Additionally, the webserver will also be on its own separate internal docker network bridge. Since it’s a Jekyll site, it’ll be started with jekyll serve since I’m lazy, but ideally a more secure webserver would be used and be set up behind a load balancer like nginx before being connected to the Tor docker container.
Bringing up the entire stack is as simple as running:
$ docker-compose up --detach
in the root directory. To rebuild with changes made to any container, re-run the command above with the additional flag --build. To bring down the stack, simply run:
$ docker-compose down
Throughout this post, I’ll be including relevant config snippets for each service. If you want to see the final product (minus the public/private keys), the repo is available on Github.
Onion v3
In 2017, an upgrade to the hidden service protocol was introduced, known informally as Onion v3. Also known as prop224 after the proposal that introduced the changes, a number of improvements were made to the protocol such as crypto changes from SHA1/DH/RSA1024 to SHA3/ed25519/curve25519. However, the most noticeable difference is the length of onion addresses, from 16 to 56 characters.
A list of the improvements made (taken from the proposal) are:
- Better crypto (replaced SHA1/DH/RSA1024 with SHA3/ed25519/curve25519)
- Improved directory protocol leaking less to directory servers.
- Improved directory protocol with smaller surface for targeted attacks.
- Better onion address security against impersonation.
- More extensible introduction/rendezvous protocol.
- Offline keys for onion services
- Advanced client authorization
More information can be found in the protocol spec here.
Bruteforcing a Vanity URL
The first and potentially most time-consuming part is bruteforcing the Onion v3 URL for the website. Depending on how many letters you want to bruteforce of the 56-character URL, it can be faster to wait for the heat death of the universe.
However if you don’t mind waiting a few hours, the first 6 characters is very feasible, and a few days to about a week can get you 7.
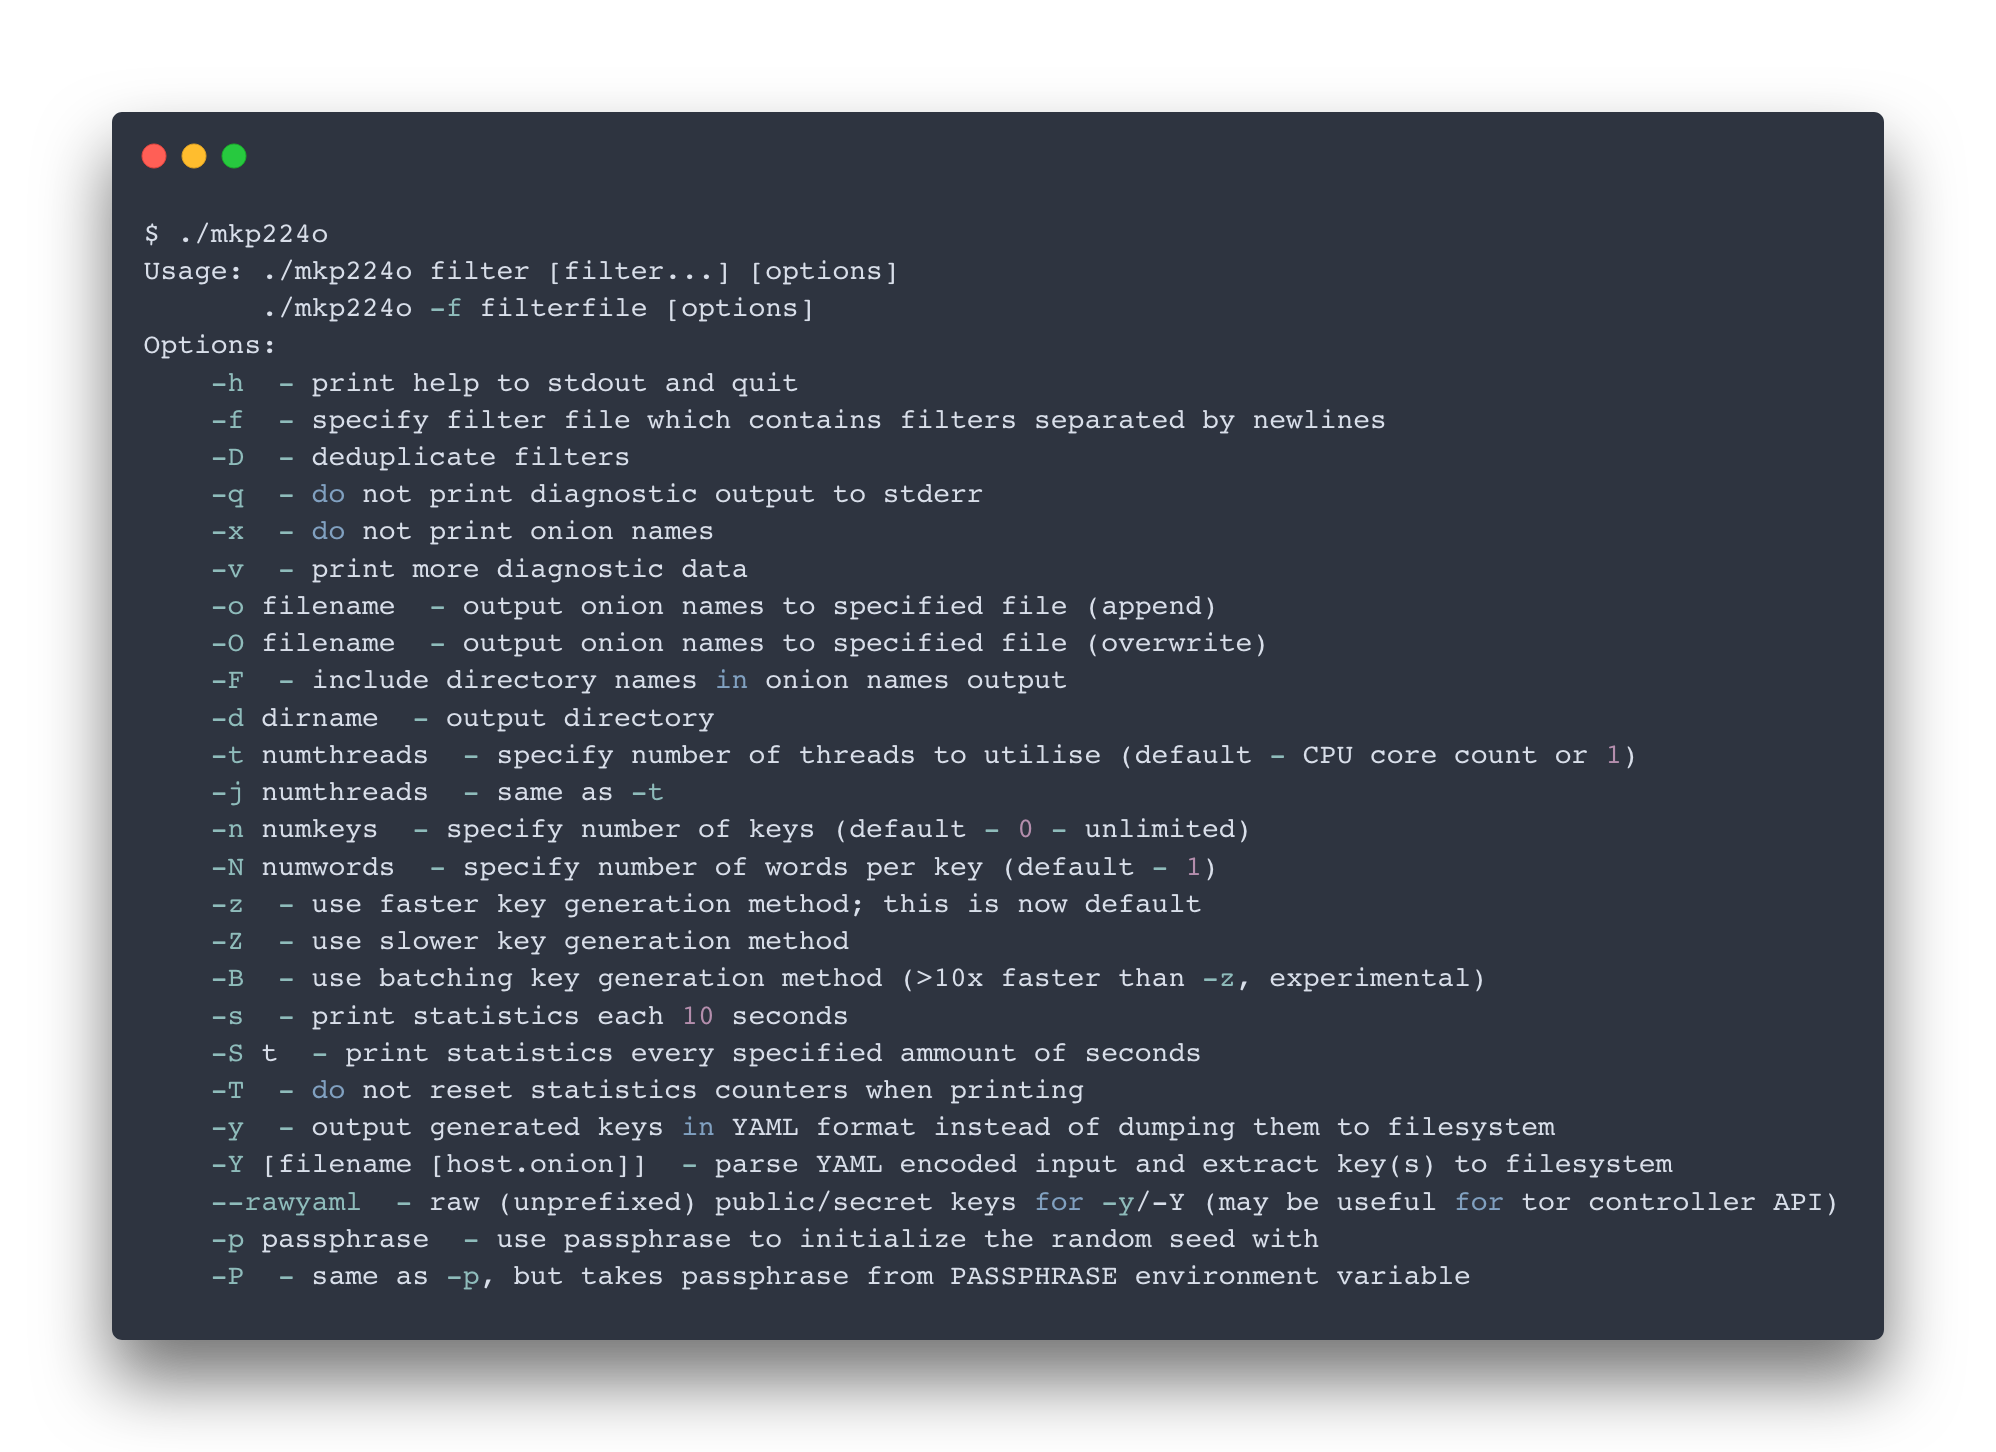
Now, you’ll need a way to bruteforce creating these ed25519 public/private keypairs. Luckily there’s a really good tool to do this called mkp224o by cathugger on Github.
This is an overview of all the possible flags that can be set:

Generating the URL for this blog took several days using this command:
$ ./mkp224o -S 30 -j 8 -o devedge_onion3.txt -d onionv3/ devedge
Every time a keypair is found, it’s placed in its own directory under onionv3/. 3 files will be placed in there - the public key, the private key, and the hostname in a text file called hostname. All 3 will be used in the docker-compose config for Tor below.
Tor Container
The first section of the docker-compose config is the actual Tor container itself, as shown below:
docker-compose.yml
version: "3"
services:
  tor:
    build: tor/
    restart: unless-stopped
    expose:
      - 9051
    networks:
      - net_isolated
      - net_control
      - net_external
    volumes:
      - torrc:/etc/tor/
      - authcookie:/var/lib/tor/
      - /etc/localtime:/etc/localtime:ro
# ...

volumes:
  torrc: {}
  authcookie: {}

networks:
  net_isolated:
    internal: true
  net_control:
    internal: true
  net_external:
There are a few volumes that are mounted up to the Tor container. They are:
-
torrcThis volume allows the Tor and the Nyx containers to share the torrc file -
authcookieThe authentication cookie that authorizes Nyx to make connections to Tor over the control port. -
/etc/localtime:/etc/localtime:roThis volume, present on all the containers, ensures that all their timezones are properly synced.
Additionally, the following networks are mounted to the Tor container, allowing it to communicate across all of them:
-
net_isolatedThe isolated network for the webserver. This is shared between the webserver and the Tor container. -
net_controlThe isolated network for Nyx. This is shared between Nyx and the Tor container. -
net_externalNetwork that allows the Tor container to make external connections.
Next up is the Dockerfile to build Tor. It uses a slim Debian Stretch image, adds the Tor Project’s repo & GPG keys, and updates all packages before finally copying config files into and making necessary changes to the container.
Note that the 3 files generated in the previous section (hostname, hs_ed25519_public_key, & hs_ed25519_secret_key) are placed in the folder tor/onionv3/. The Dockerfile ensures that the hidden_service/ directory & the hs_ed25519_secret_key have their permission bits set to 700 and 600 respectively.
tor/Dockerfile
# Latest stable slim debian image
FROM debian:stretch-slim

# Copy the Tor Project's apt source URLs
COPY tor-sources.list /tmp

# Update packages and install tor
# Source: https://2019.www.torproject.org/docs/debian.html.en
RUN apt-get update && apt-get install -y \
  # The apt source lines with https require apt-transport-https
  apt-transport-https \
  # Download gnupg2 and curl to retrieve the Tor Project's official keys
  gnupg2 \
  curl \
  # Now that apt-transport-https is downloaded, the tor apt sources can be moved
  # to the apt sources directory
  && mv /tmp/tor-sources.list /etc/apt/sources.list.d/ \
  # Retrieve and import the gpg key. Force gpg to trust the key, so packages can be verified
  # with it
  && curl https://deb.torproject.org/torproject.org/A3C4F0F979CAA22CDBA8F512EE8CBC9E886DDD89.asc | gpg --import --trust-model always \
  && gpg --export A3C4F0F979CAA22CDBA8F512EE8CBC9E886DDD89 | apt-key add - \
  # Remove curl, since it is no longer needed and can be a security risk
  && apt-get remove --purge -y \
  curl \
  # Refresh the sources to pull the tor debian repo, and install both tor and
  # the official keyring
  && apt-get update && apt-get install -y \
  tor \
  deb.torproject.org-keyring

# Expose ports for the control port
EXPOSE 9051

# Copy custom torrc
COPY torrc.conf /etc/tor/torrc

# Copy HiddenService keys into the container
COPY onionv3/* /var/lib/tor/hidden_service/

# Create the tor user, group, auth cookie, and chown everything under /etc/tor
RUN groupadd -r tor \
  && useradd --no-log-init -r -g tor tor \
  && chown -R tor:tor /etc/tor /var/lib/tor /var/log/tor \
  && chmod 700 /var/lib/tor/hidden_service/ \
  && chmod 600 /var/lib/tor/hidden_service/hs_ed25519_secret_key

# Run container as tor user
USER tor

# Container entrypoint command is tor
ENTRYPOINT [ "tor" ]

# On container run, load custom torrc
CMD [ "-f", "/etc/tor/torrc" ]
The Tor Project’s apt source URLs are saved in a file that gets copied into the container:
tor/tor-sources.list
deb https://deb.torproject.org/torproject.org stretch main
deb-src https://deb.torproject.org/torproject.org stretch main
The torrc requires fairly minimal configuration. While the control port is set to bind to all interfaces, the docker-compose configuration defines how it actually gets exposed to other containers. Another thing to note is that the webserver hostname is automatically resolved by docker-compose, eliminating the need to manually define an IP.
tor/torrc.conf
Log notice file /var/log/tor/notices.log
DataDirectory /var/lib/tor
ControlPort 0.0.0.0:9051
CookieAuthentication 1
HiddenServiceDir /var/lib/tor/hidden_service/
HiddenServiceVersion 3
HiddenServicePort 80 webserver:4000
Jekyll Webserver Container
The webserver container is very simple. Running on its own isolated network, it simply downloads the Git repo for devedge.github.io, builds it, and runs jekyll serve.
docker-compose.yml
# ...
  webserver:
    build: webserver/
    restart: unless-stopped
    expose:
      - 4000
    depends_on:
      - tor
    networks:
      - net_isolated
    volumes:
      - /etc/localtime:/etc/localtime:ro
# ...
webserver/Dockerfile
# Use jekyll builder image
FROM jekyll/builder:4.0

# Git repo will be downloaded here
WORKDIR /webcontent

# Clone the repo, fix ownership permissions, install deps and build
RUN git clone https://github.com/devedge/devedge.github.io.git \
  && chown -R jekyll:jekyll /webcontent \
  && cd devedge.github.io/ \
  && bundle update \
  && jekyll build

# Run container as jekyll user
USER jekyll

# Set the webserver root directory
WORKDIR /webcontent/devedge.github.io

# Serve the webserver using Jekyll
# The _config-onion.yml is to set the onion hostname for the tor-hosted site
CMD jekyll serve --config _config.yml,_config-onion.yml --host 0.0.0.0
Recreating the webserver is easy to do, and doesn’t require restarting either the Tor or the Nyx containers. Simply rebuild the image with no cache to pull the latest Github changes:
$ docker-compose build --no-cache webserver
and then recreate it:
$ docker-compose up --detach --force-recreate --no-deps webserver
Nyx Container
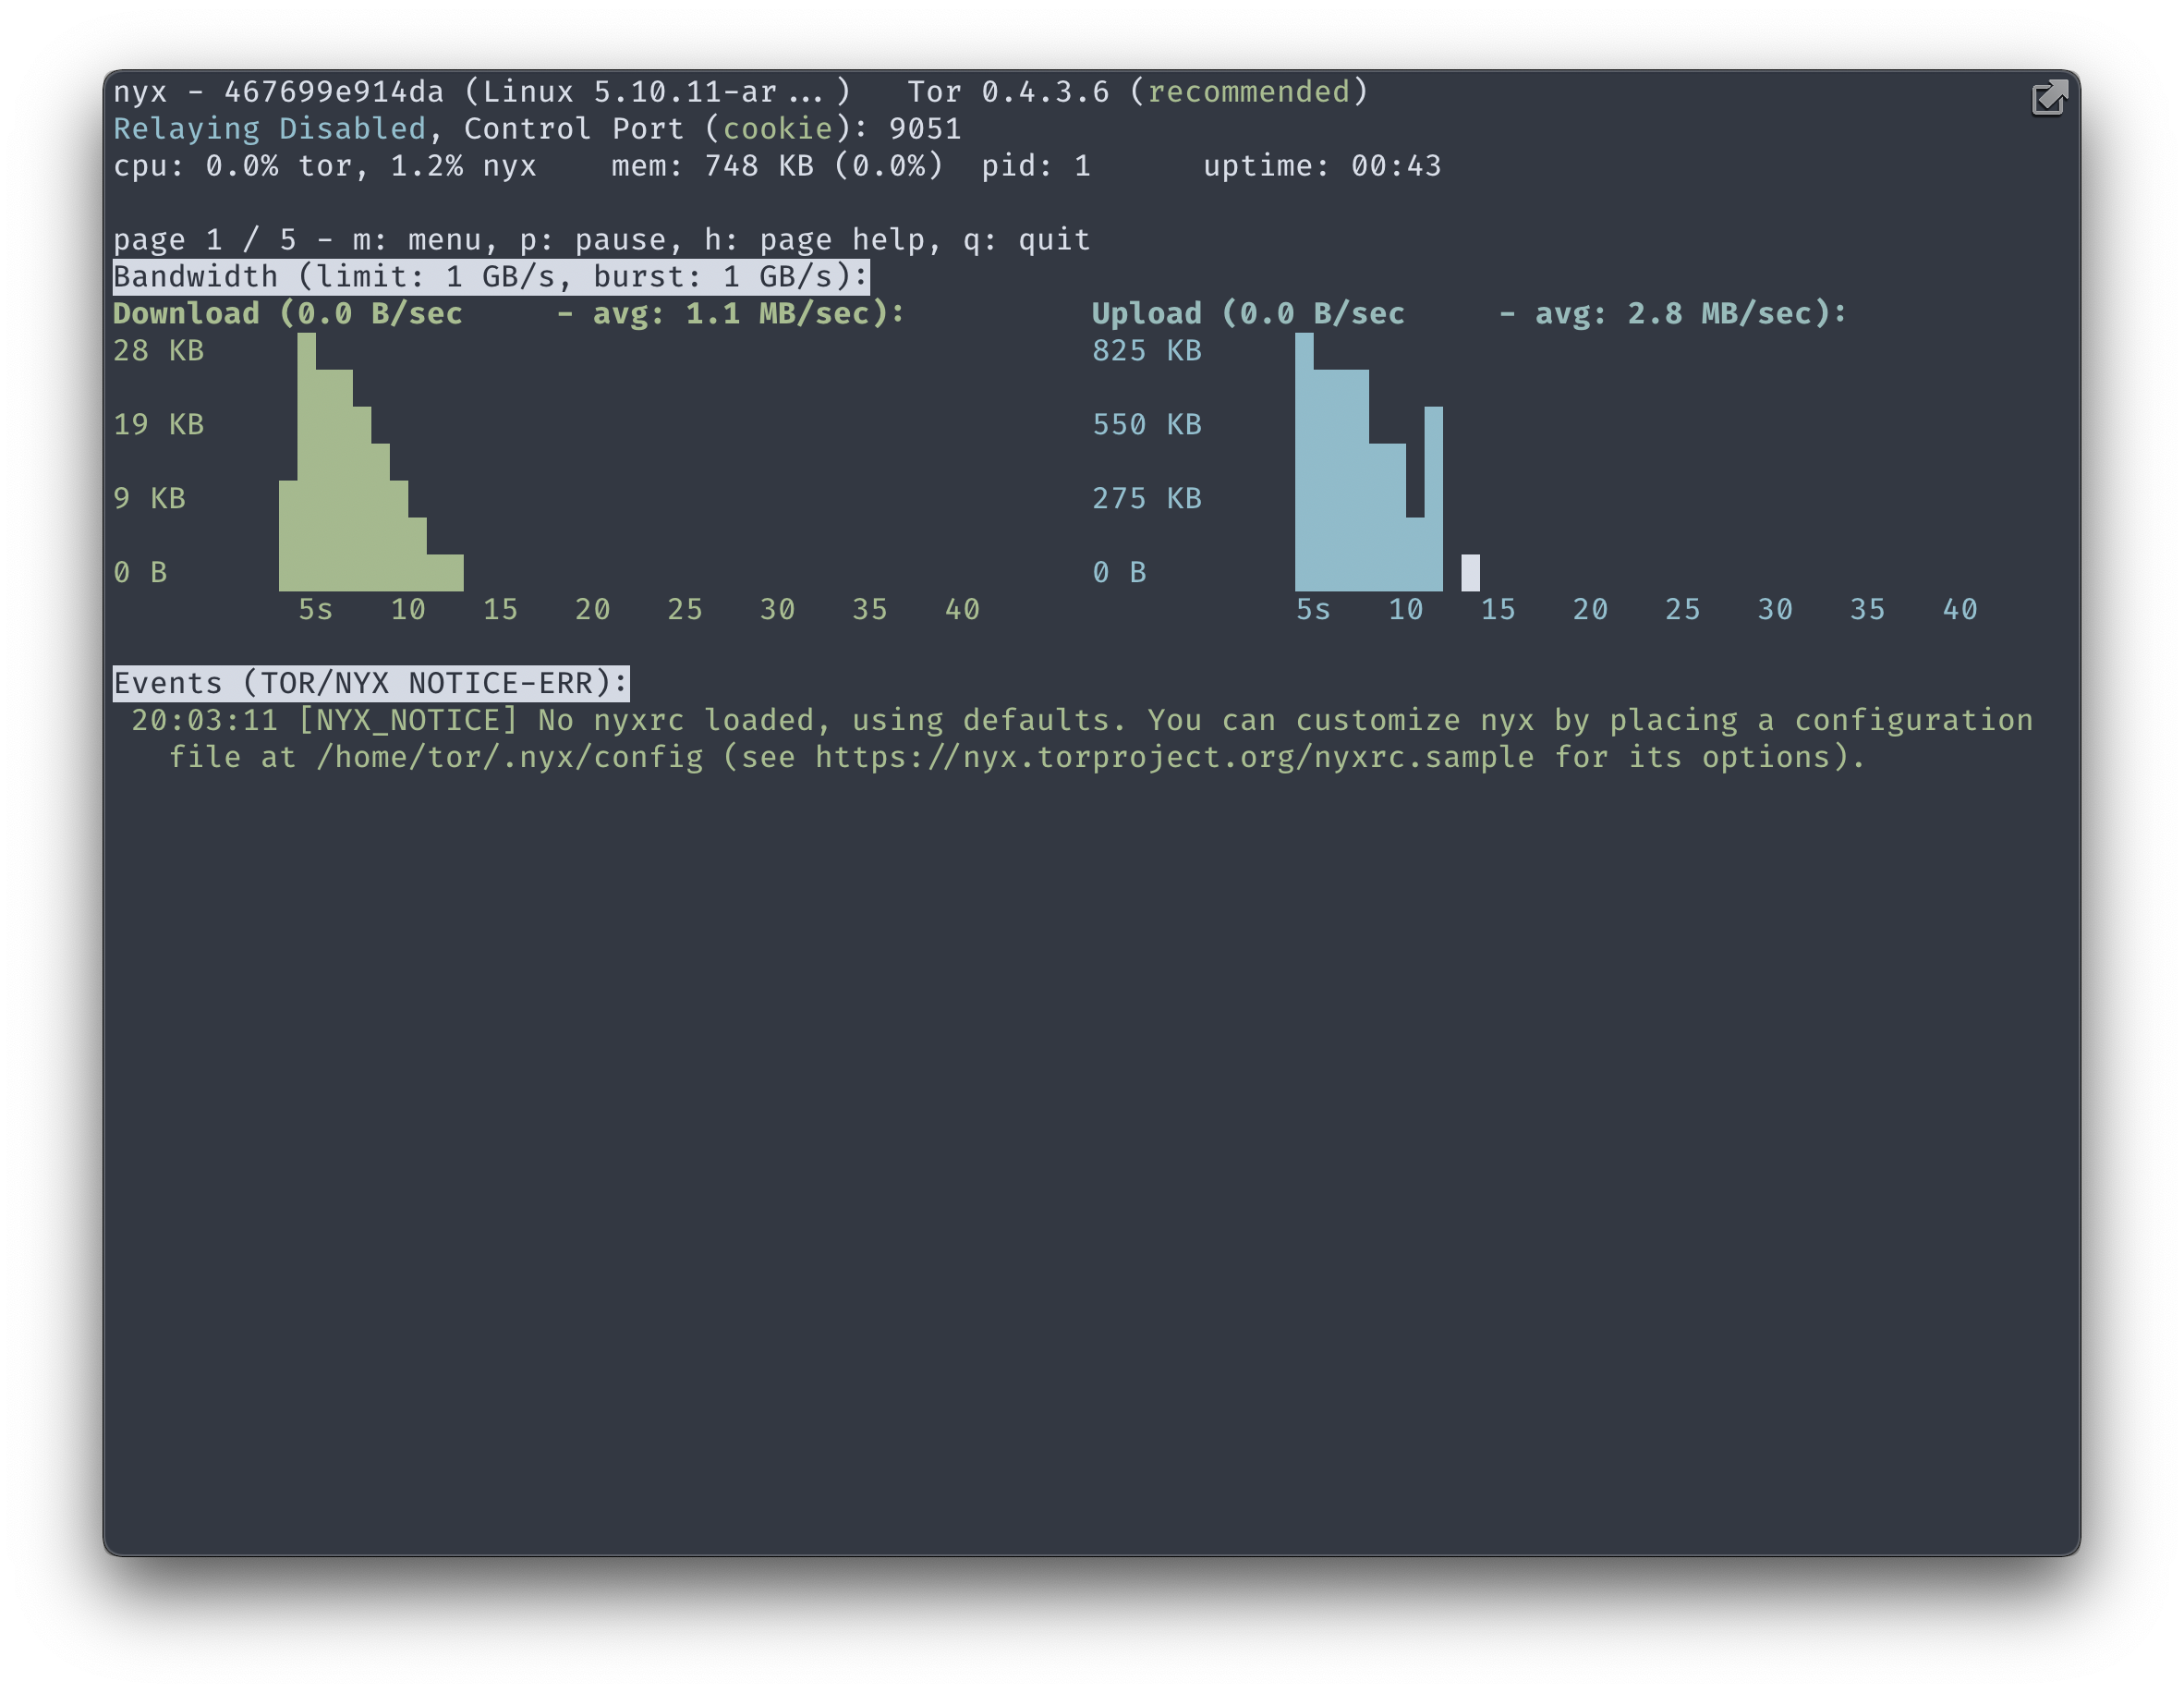
Nyx is a CLI monitoring tool that allows you to gain insight to Tor as it runs. It has multiple panes that show connections to Tor nodes, realtime logs, bandwidth graphs, and the current torrc configuration to name a few.

The Nyx container shares the torrc and authcookie volumes with the Tor container. Also note the tty: true and stdin_open: true options, which allow the CLI interface to be displayed in the terminal & interacted with when attached using docker-compose attach. It also has its own network separate from the webserver, net_control.
docker-compose.yml
# ...
  nyx:
    build: nyx/
    restart: unless-stopped
    tty: true
    stdin_open: true
    depends_on:
      - tor
    networks:
      - net_control
    volumes:
      - torrc:/etc/tor/
      - authcookie:/var/lib/tor/
      - /etc/localtime:/etc/localtime:ro
# ...
The Dockerfile is fairly straightforward, using a slim Python image, installing Nyx, and setting the container to run as the tor user. Nyx can’t resolve hostnames when connecting to the endpoint, so I use the following command to extract the IP:
$ host -4 tor | grep -oE '[^ ]+$'
nyx/Dockerfile
# Latest stable slim debian image
FROM python:3-slim-buster

# Install nyx
RUN apt-get update && apt-get install -y \
  host \
  && pip install nyx

# Create the tor user, and chown everything under /etc/tor
RUN groupadd -r tor \
  && useradd --no-log-init -r -g tor tor

# Run container as tor user
USER tor

# On container run, connect to control port. Use 'host' to determine the IP Address
# of the 'tor' container, since nyx cannot resolve hostnames.
CMD nyx -i $(host -4 tor | grep -oE '[^ ]+$'):9051 -s /var/lib/tor/control_auth_cookie
While running this container, I noticed that it has a memory leak so it’ll use as much memory as possible until docker forcibly restarts it. To avoid this, I usually pause the container with docker-compose pause nyx and unpause it with docker-compose unpause nyx when I want to attach to it.
Attaching to the container is done with:
$ docker-compose attach nyx
and to detach from the container, hit the sequence CTRL+p+q.
References/Credits
- Tor Proposal 224/Hidden Service Version 3
- Nyx CLI Monitor
- JamieWeb, who has an excellent article on bruteforcing OnionV3 addresses
- mkp224o Github
- This post’s Github repo