A recent project of mine was putting together a mass-storage fileserver so I would have resilient backup storage. I decided to go with a completely custom build, and install FreeNAS to manage a mirrored ZFS setup across 6 hard drives.
This post shows the hardware I used to put it together, some of the steps I took to set up the mirrored ZFS vdevs (along with useful documentation I referenced), and how I benchmarked the read/write performance of this setup across several of my computers.
Table of Contents
Putting together the NAS
The brains of this setup is a Supermicro A2SDi-8C+-HLN4F Mini ITX Motherboard, with an Atom C3758 8-Core CPU.
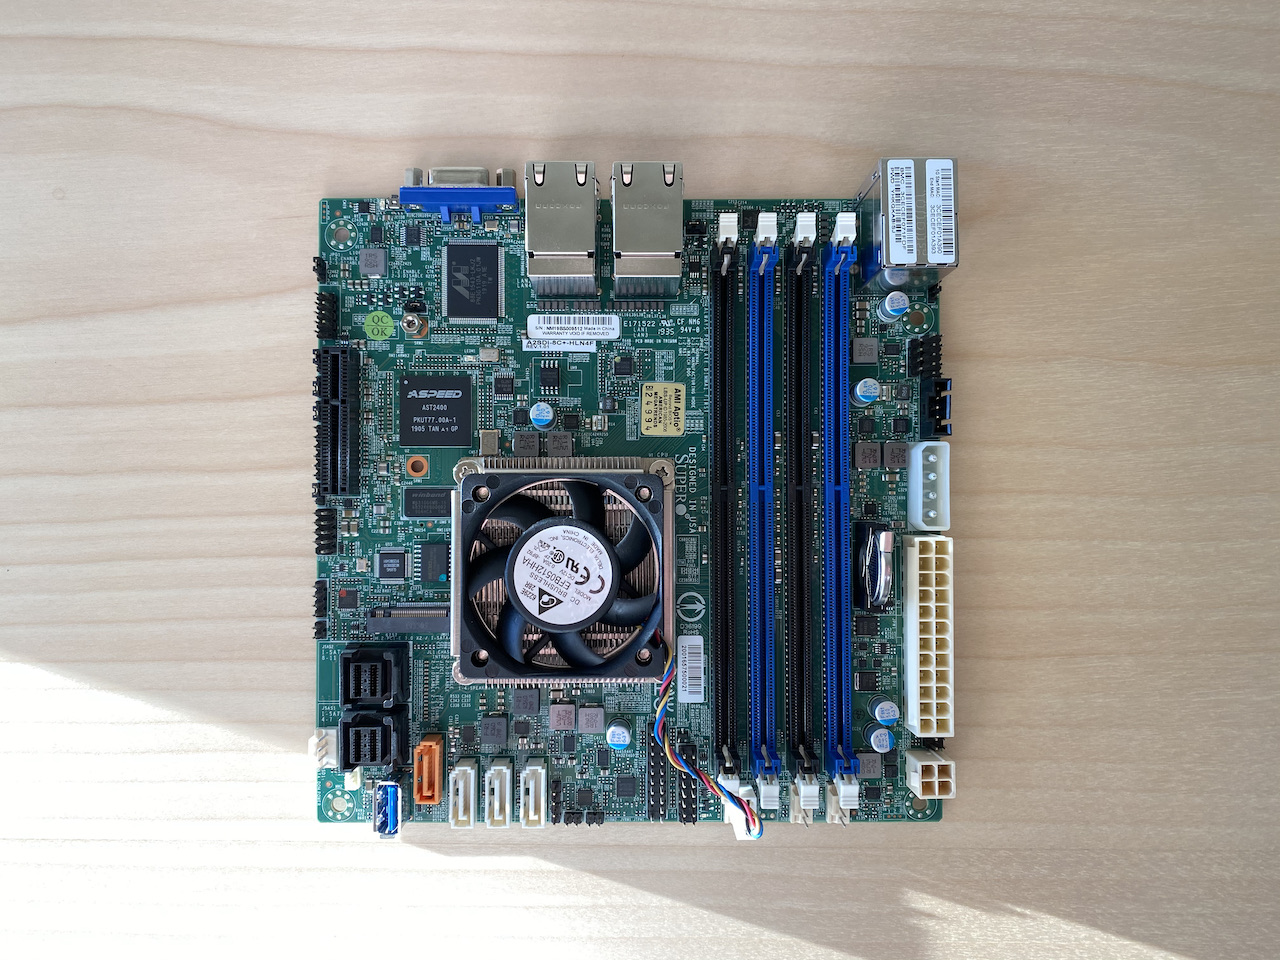
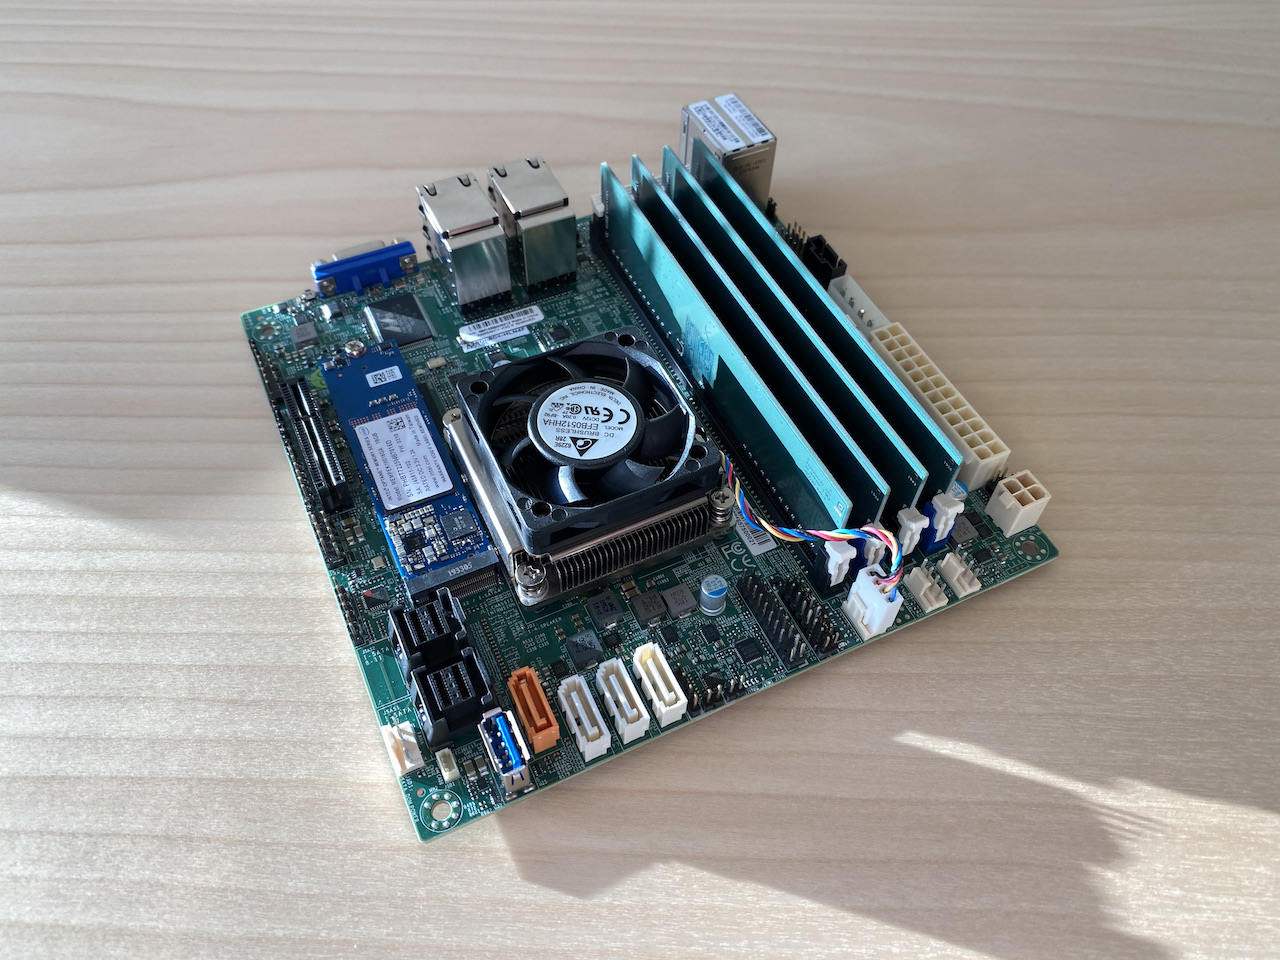
The SSD and RAM is put into the motherboard before inserting it into the case. The OS will run off of a 16GB Intel Optane M.2 SSD, and uses 4 8GB Crucial DDR4 2400 MHz RAM sticks.
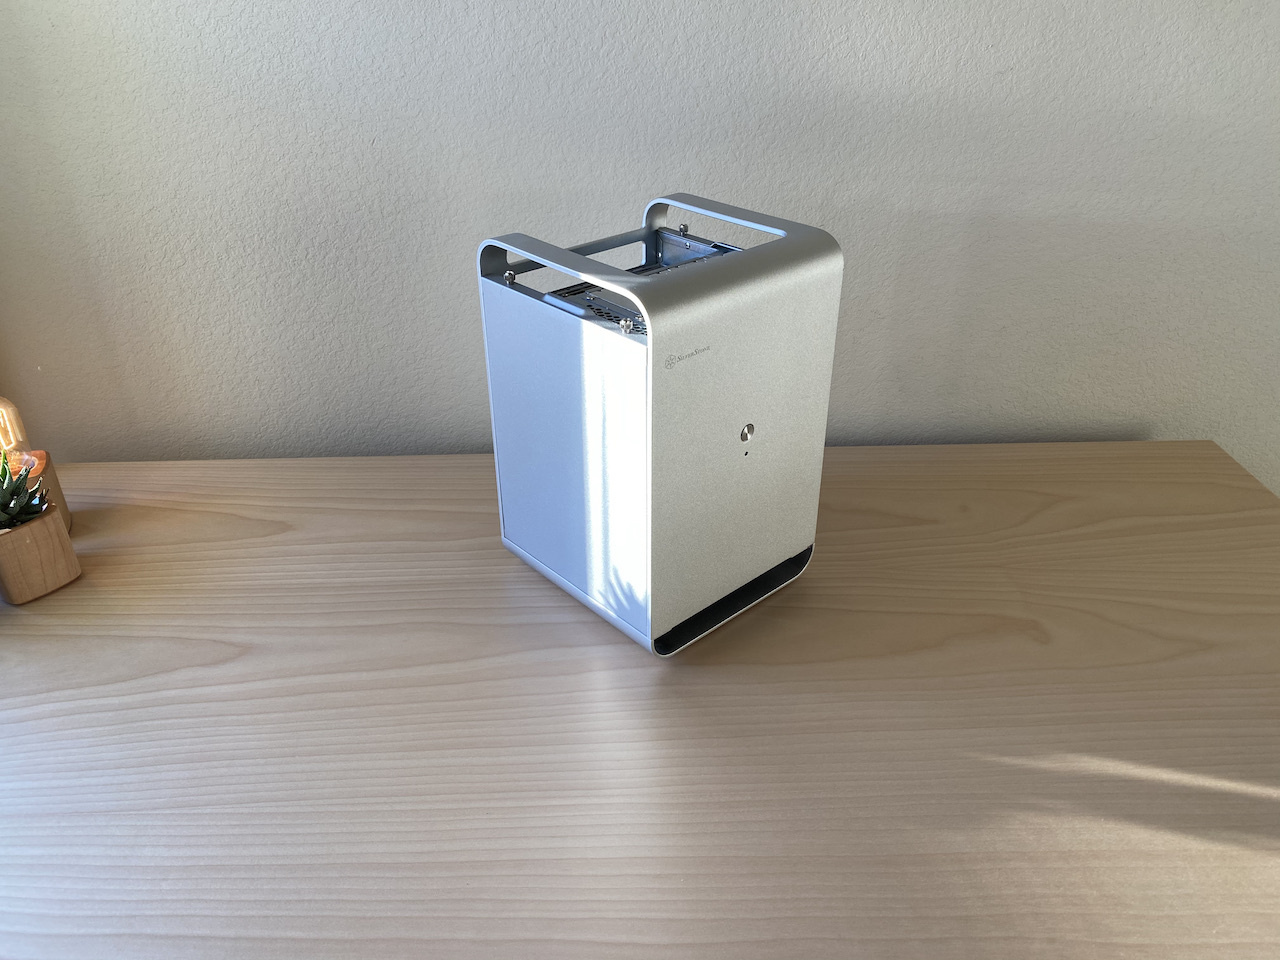
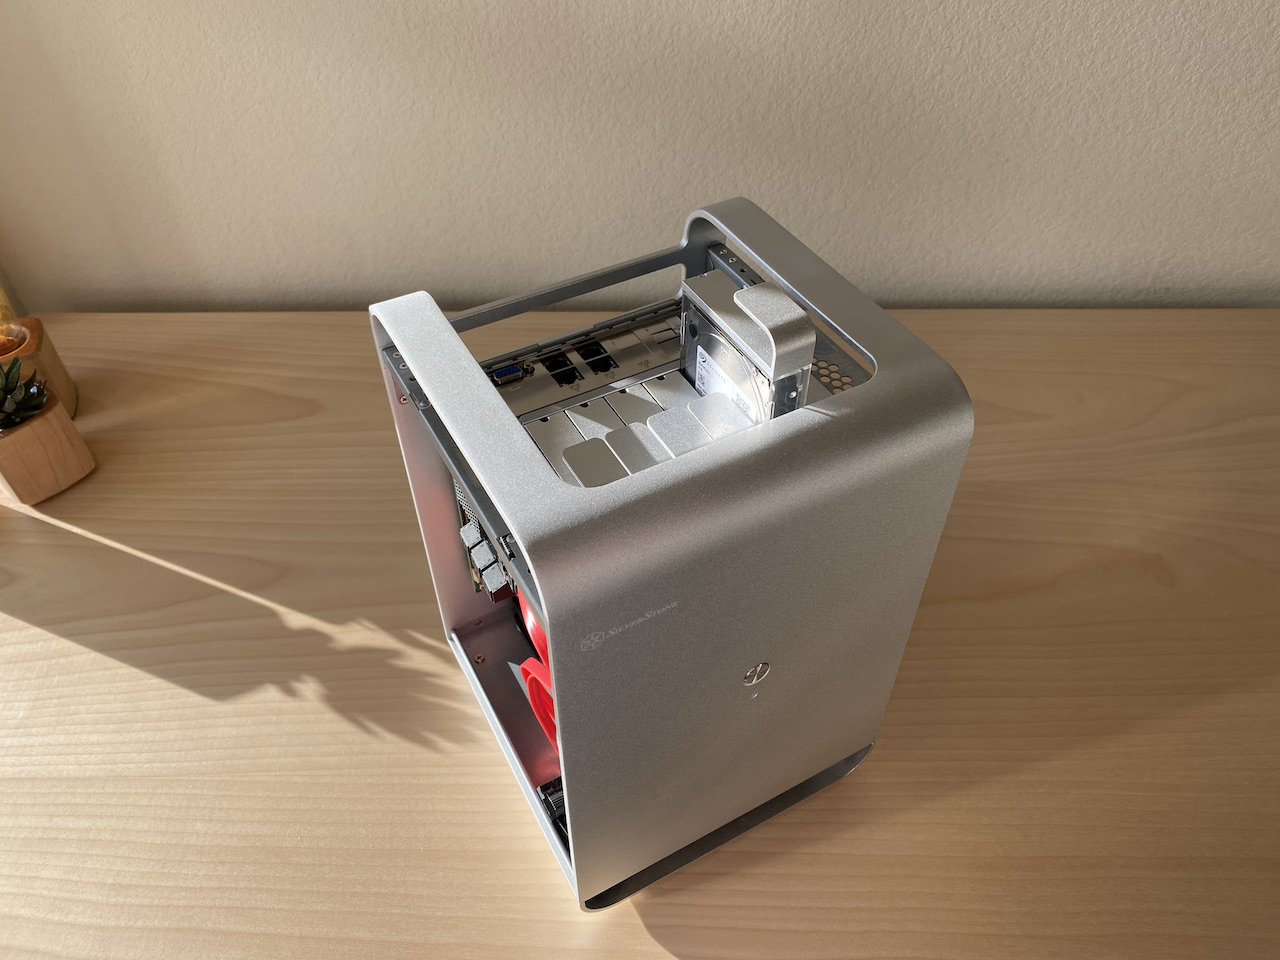
The case is a SilverStone CS01S-HS Mini-ITX Case. I like that the drives are located at the top of the case for airflow performance, and also that its shape and finish is very well put together. The power supply pictured here is a 450 Watt CORSAIR SF450 Micro ATX.
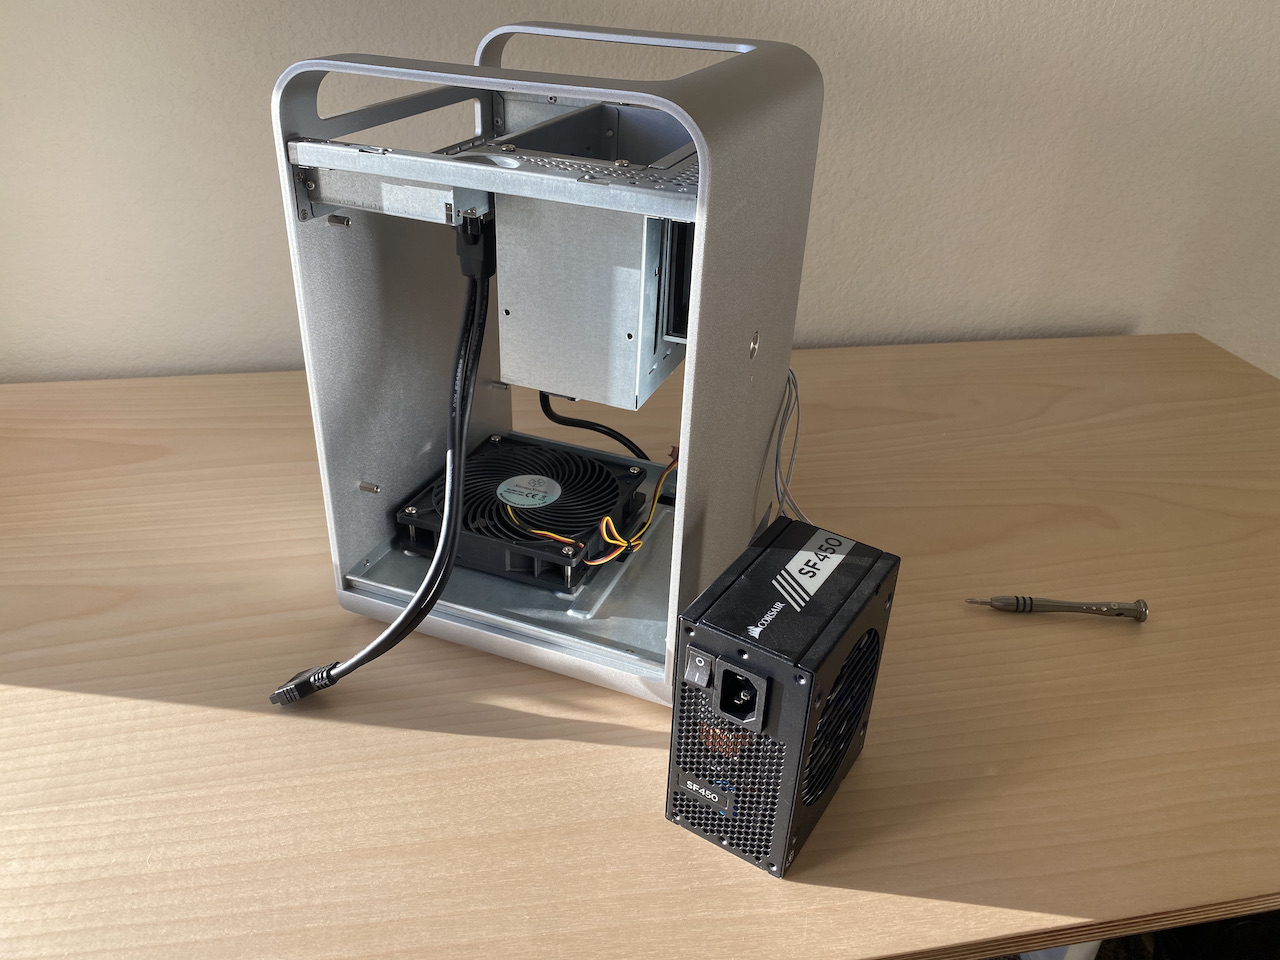
And this is the case with the motherboard and PSU in - a very snug fit.
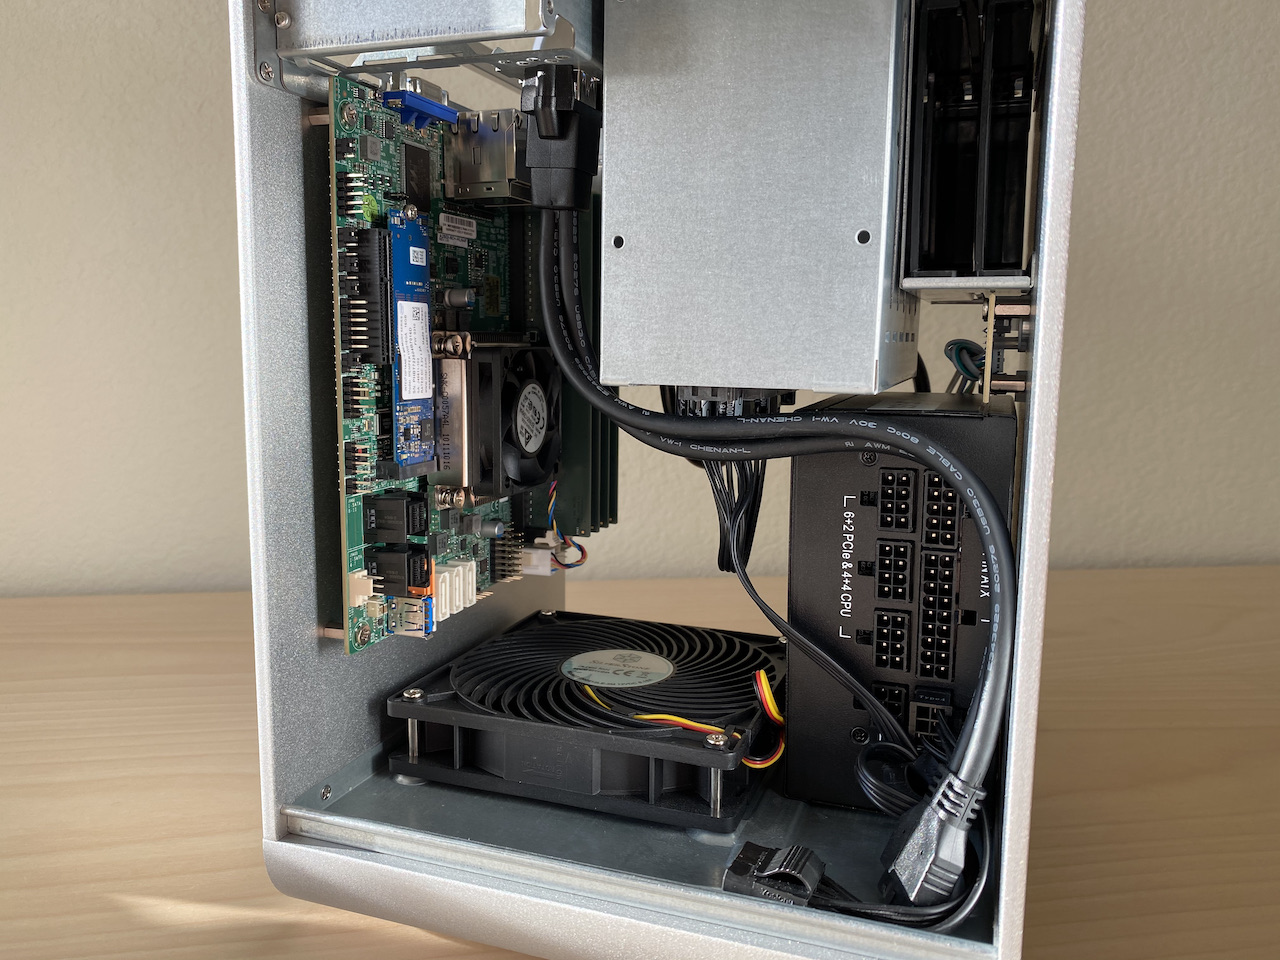
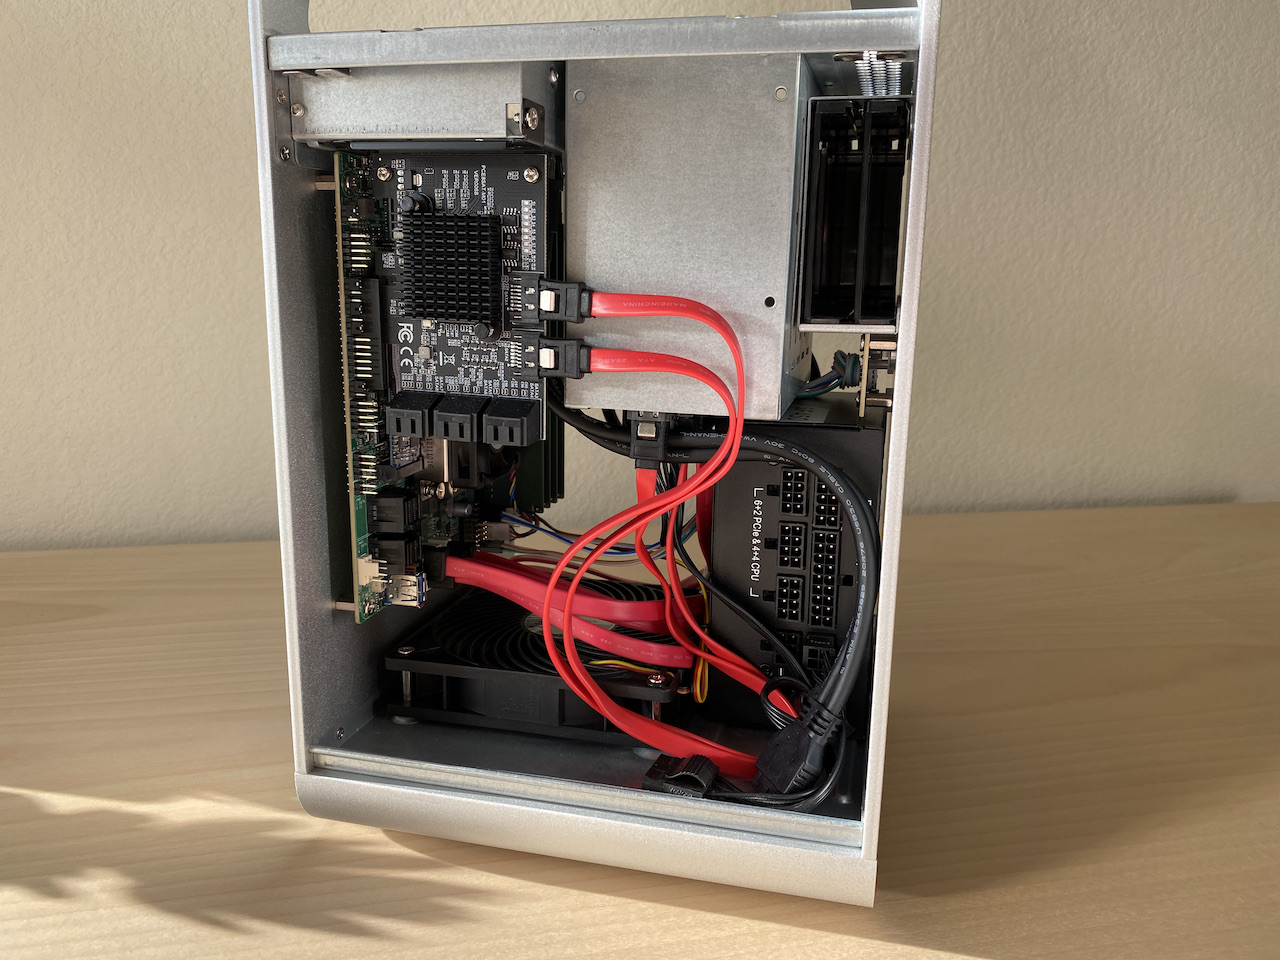
The Supermicro motherboard has only 4 built-in SATA ports but the case fits 6 hard drives - so I had to get an external SATA card for the additional 2 drives. This is a MZHOU 8-port PCIe SATA 3.0 card, with support for up to eight drives.
This is the meat of the setup: 6 5TB Seagate Barracuda 2.5” hard drives. The single downside to the SilverStone case is that it only takes 2.5” form-factor hard drives, so these bad boys are the largest capacity drives commercially available. They run at 5400 RPM, and have an upper working temperature limit of 60 degrees Celsius.
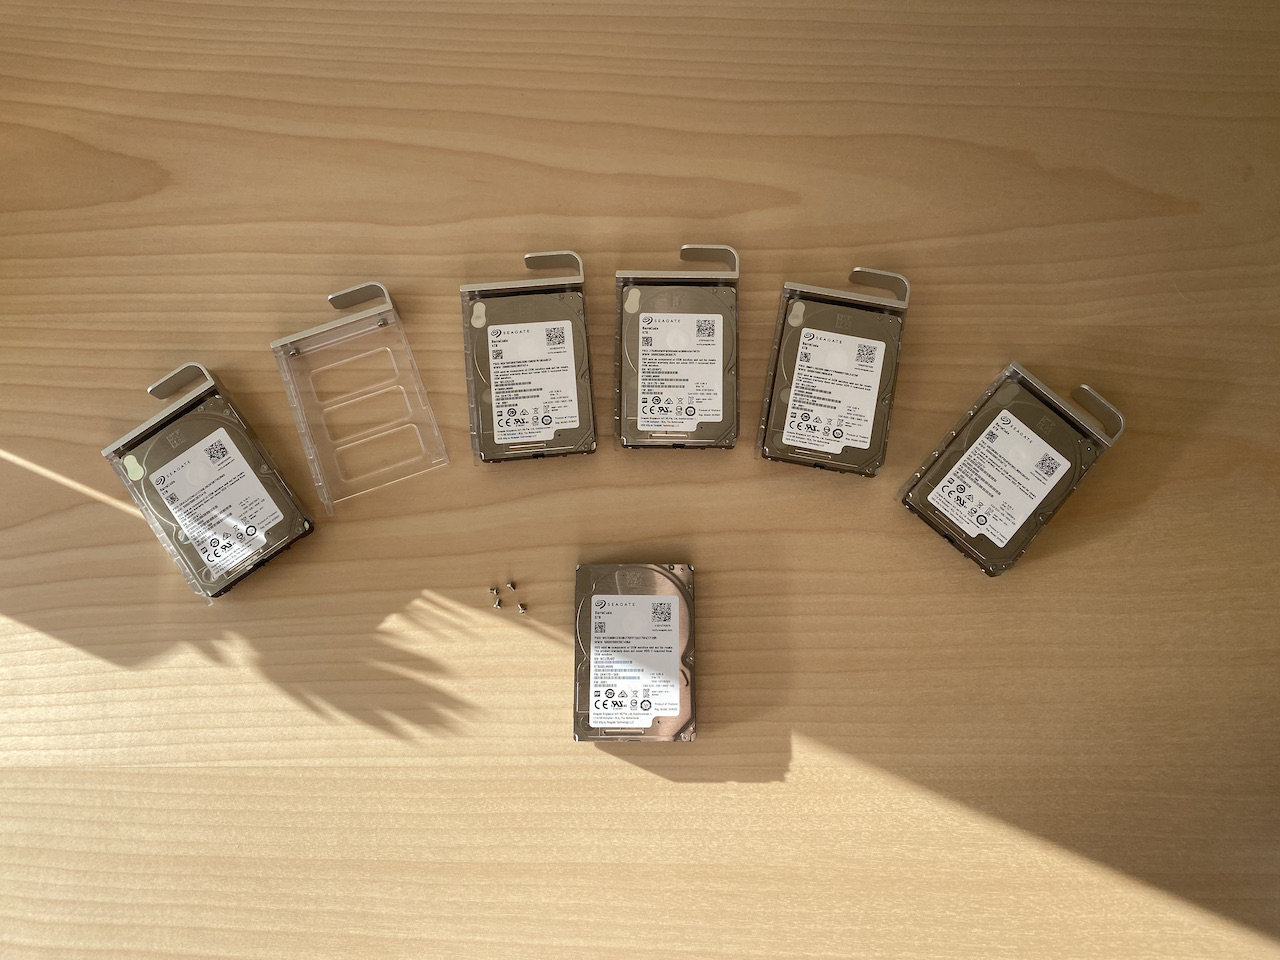
Each drive has a theoretical maximum transfer speed of 140 MB/s (133.51 MiB/s), and power consumption is at 1.9-2.1W during read/writes, while at 1.1W-.18W during idle/sleep.
This link from Tom’s Hardware has many more details about them and the greater Barracuda lineup.
With the NAS now completely put together, it’s time to get FreeNAS installed on it.

FreeNAS Installation
Installing FreeNAS is a very easy process, provided you have an extra USB stick and a VGA to HDMI adapter laying around (required if your monitors were not built during the stone age). Flash the FreeNAS ISO to the USB drive using your preferred tool (I used Balena Etcher).
The Supermicro motherboard has only VGA output, hence the need for a VGA to HDMI adapter.
Note: FreeNAS is now being rebranded as TrueNAS Core, but the functionality will remain the same.
After booting off the USB drive (which can take several minutes), you’ll be greeted by this screen:
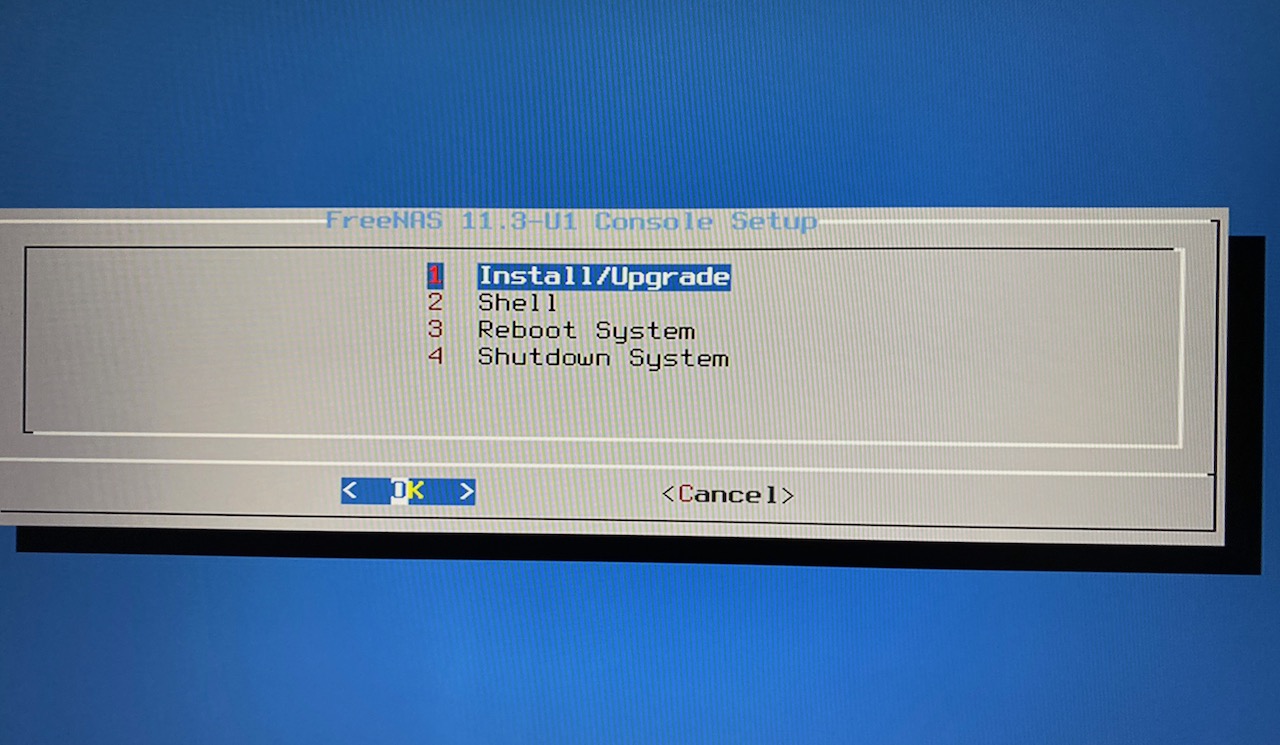
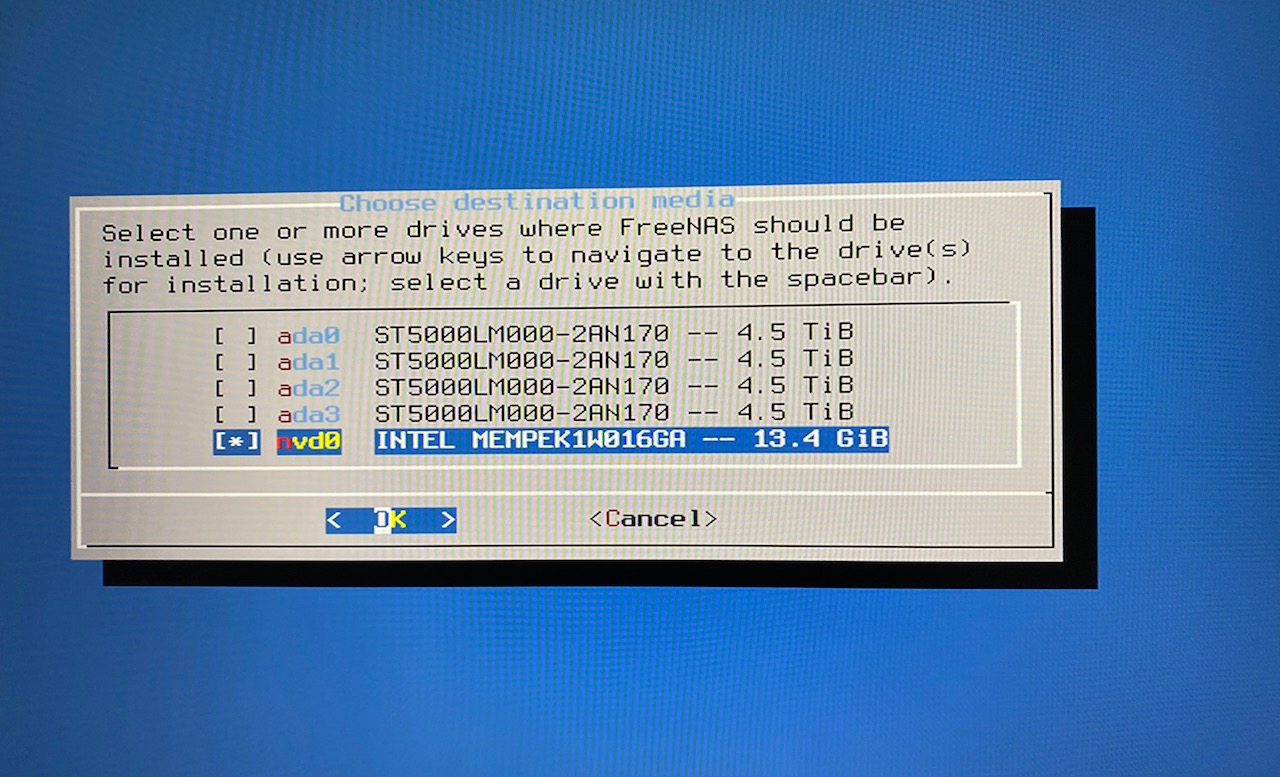
Select Install/Upgrade, and pick the SSD on the next prompt:
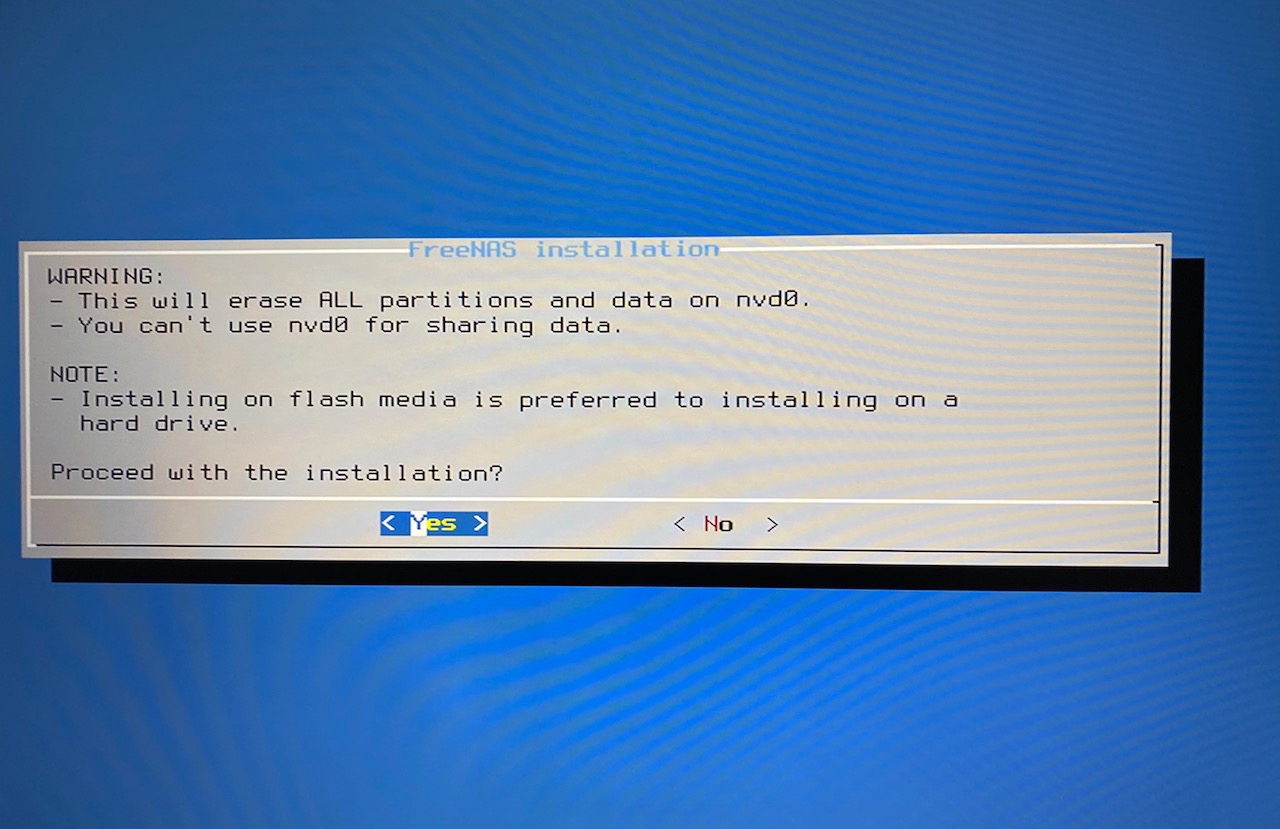
Confirm you want to move forward:
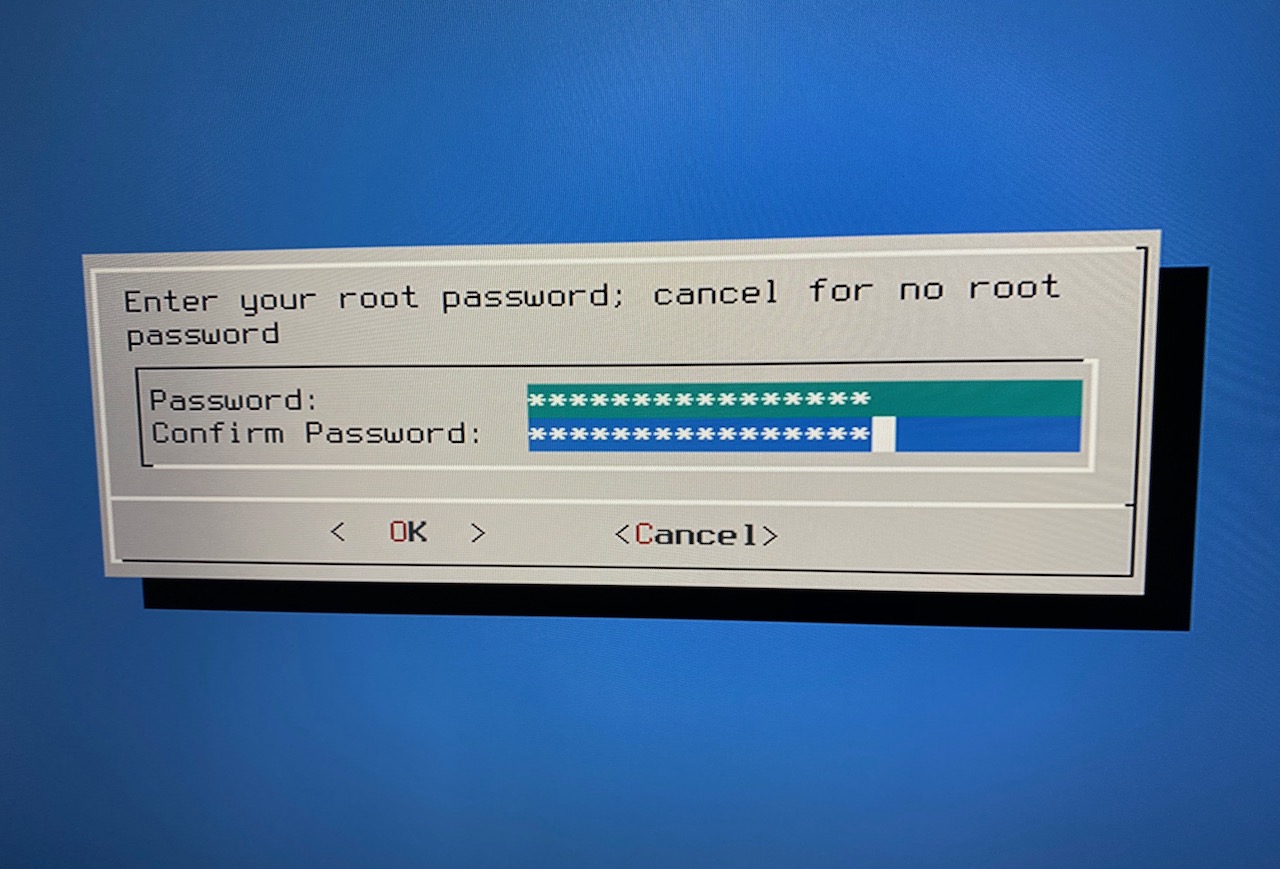
.. set a root password:
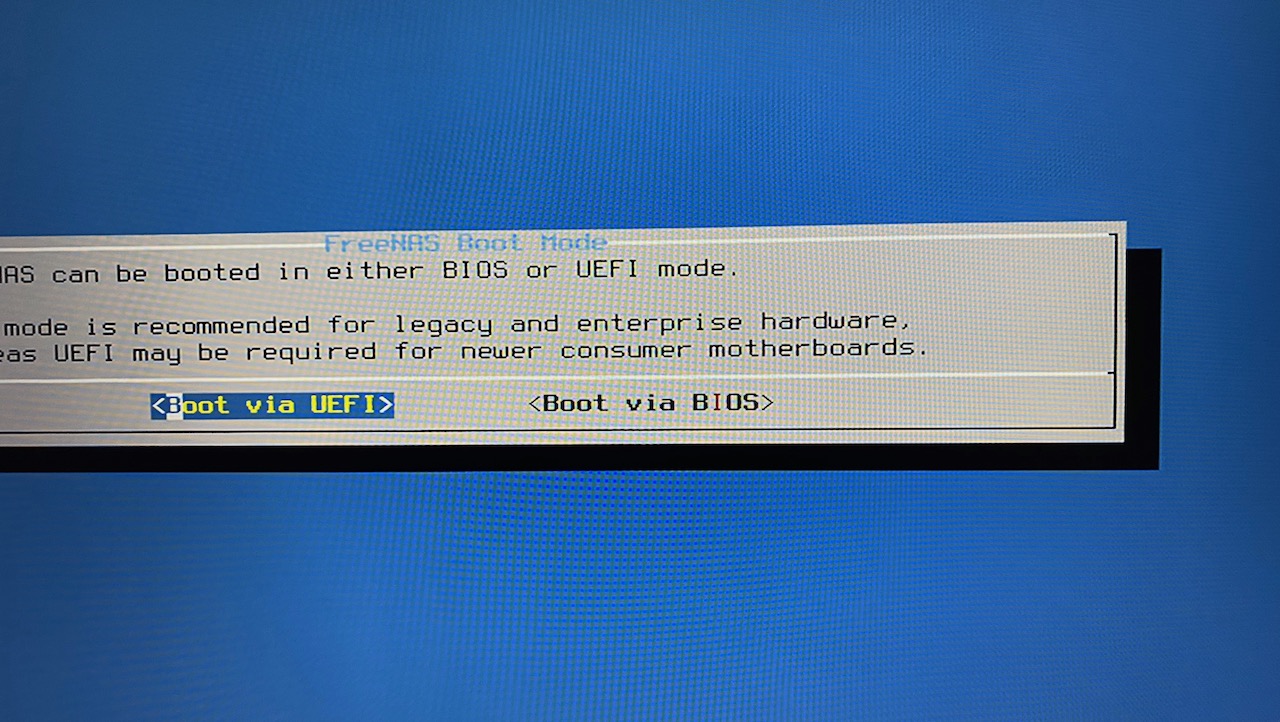
.. and select UEFI to boot off of.
The installation can take a while to finish..

.. but on completion you should see this!:

Restart the server and immediately remove the USB drive. The OS takes quite a long time to start up, but once this screen is gone, you should be good!:

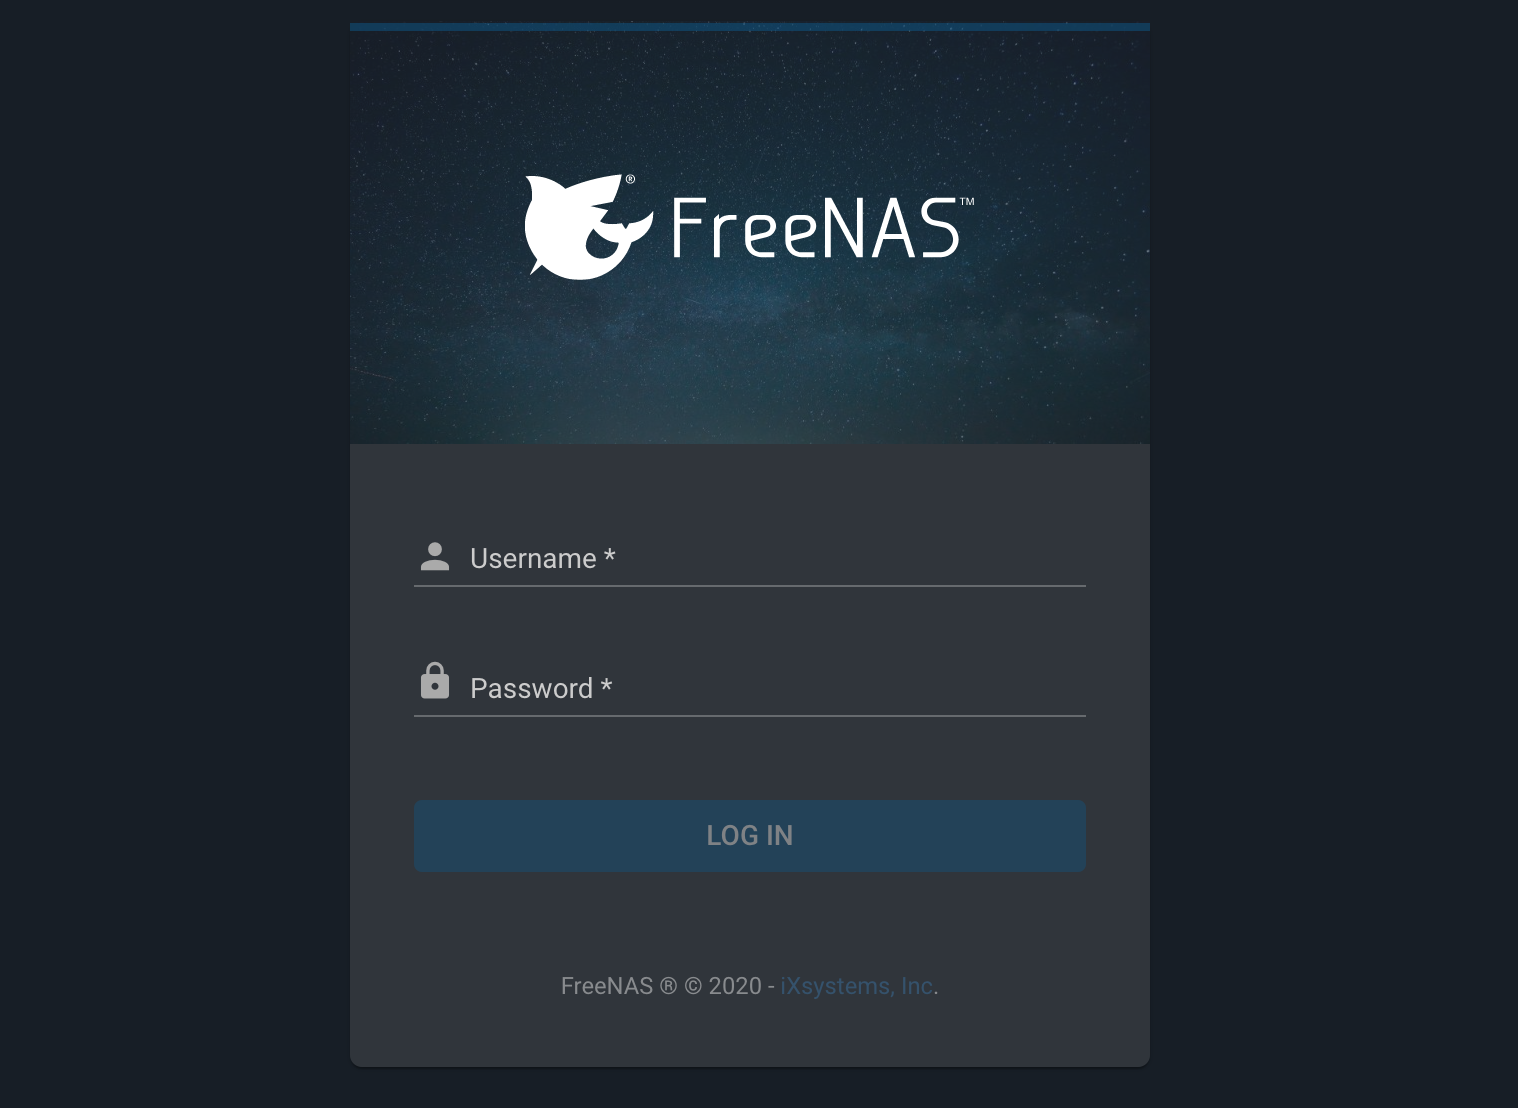
Your FreeNAS dasboard will be available as a webpage at freenas.local/ui/dashboard. Log in using your root password and username:
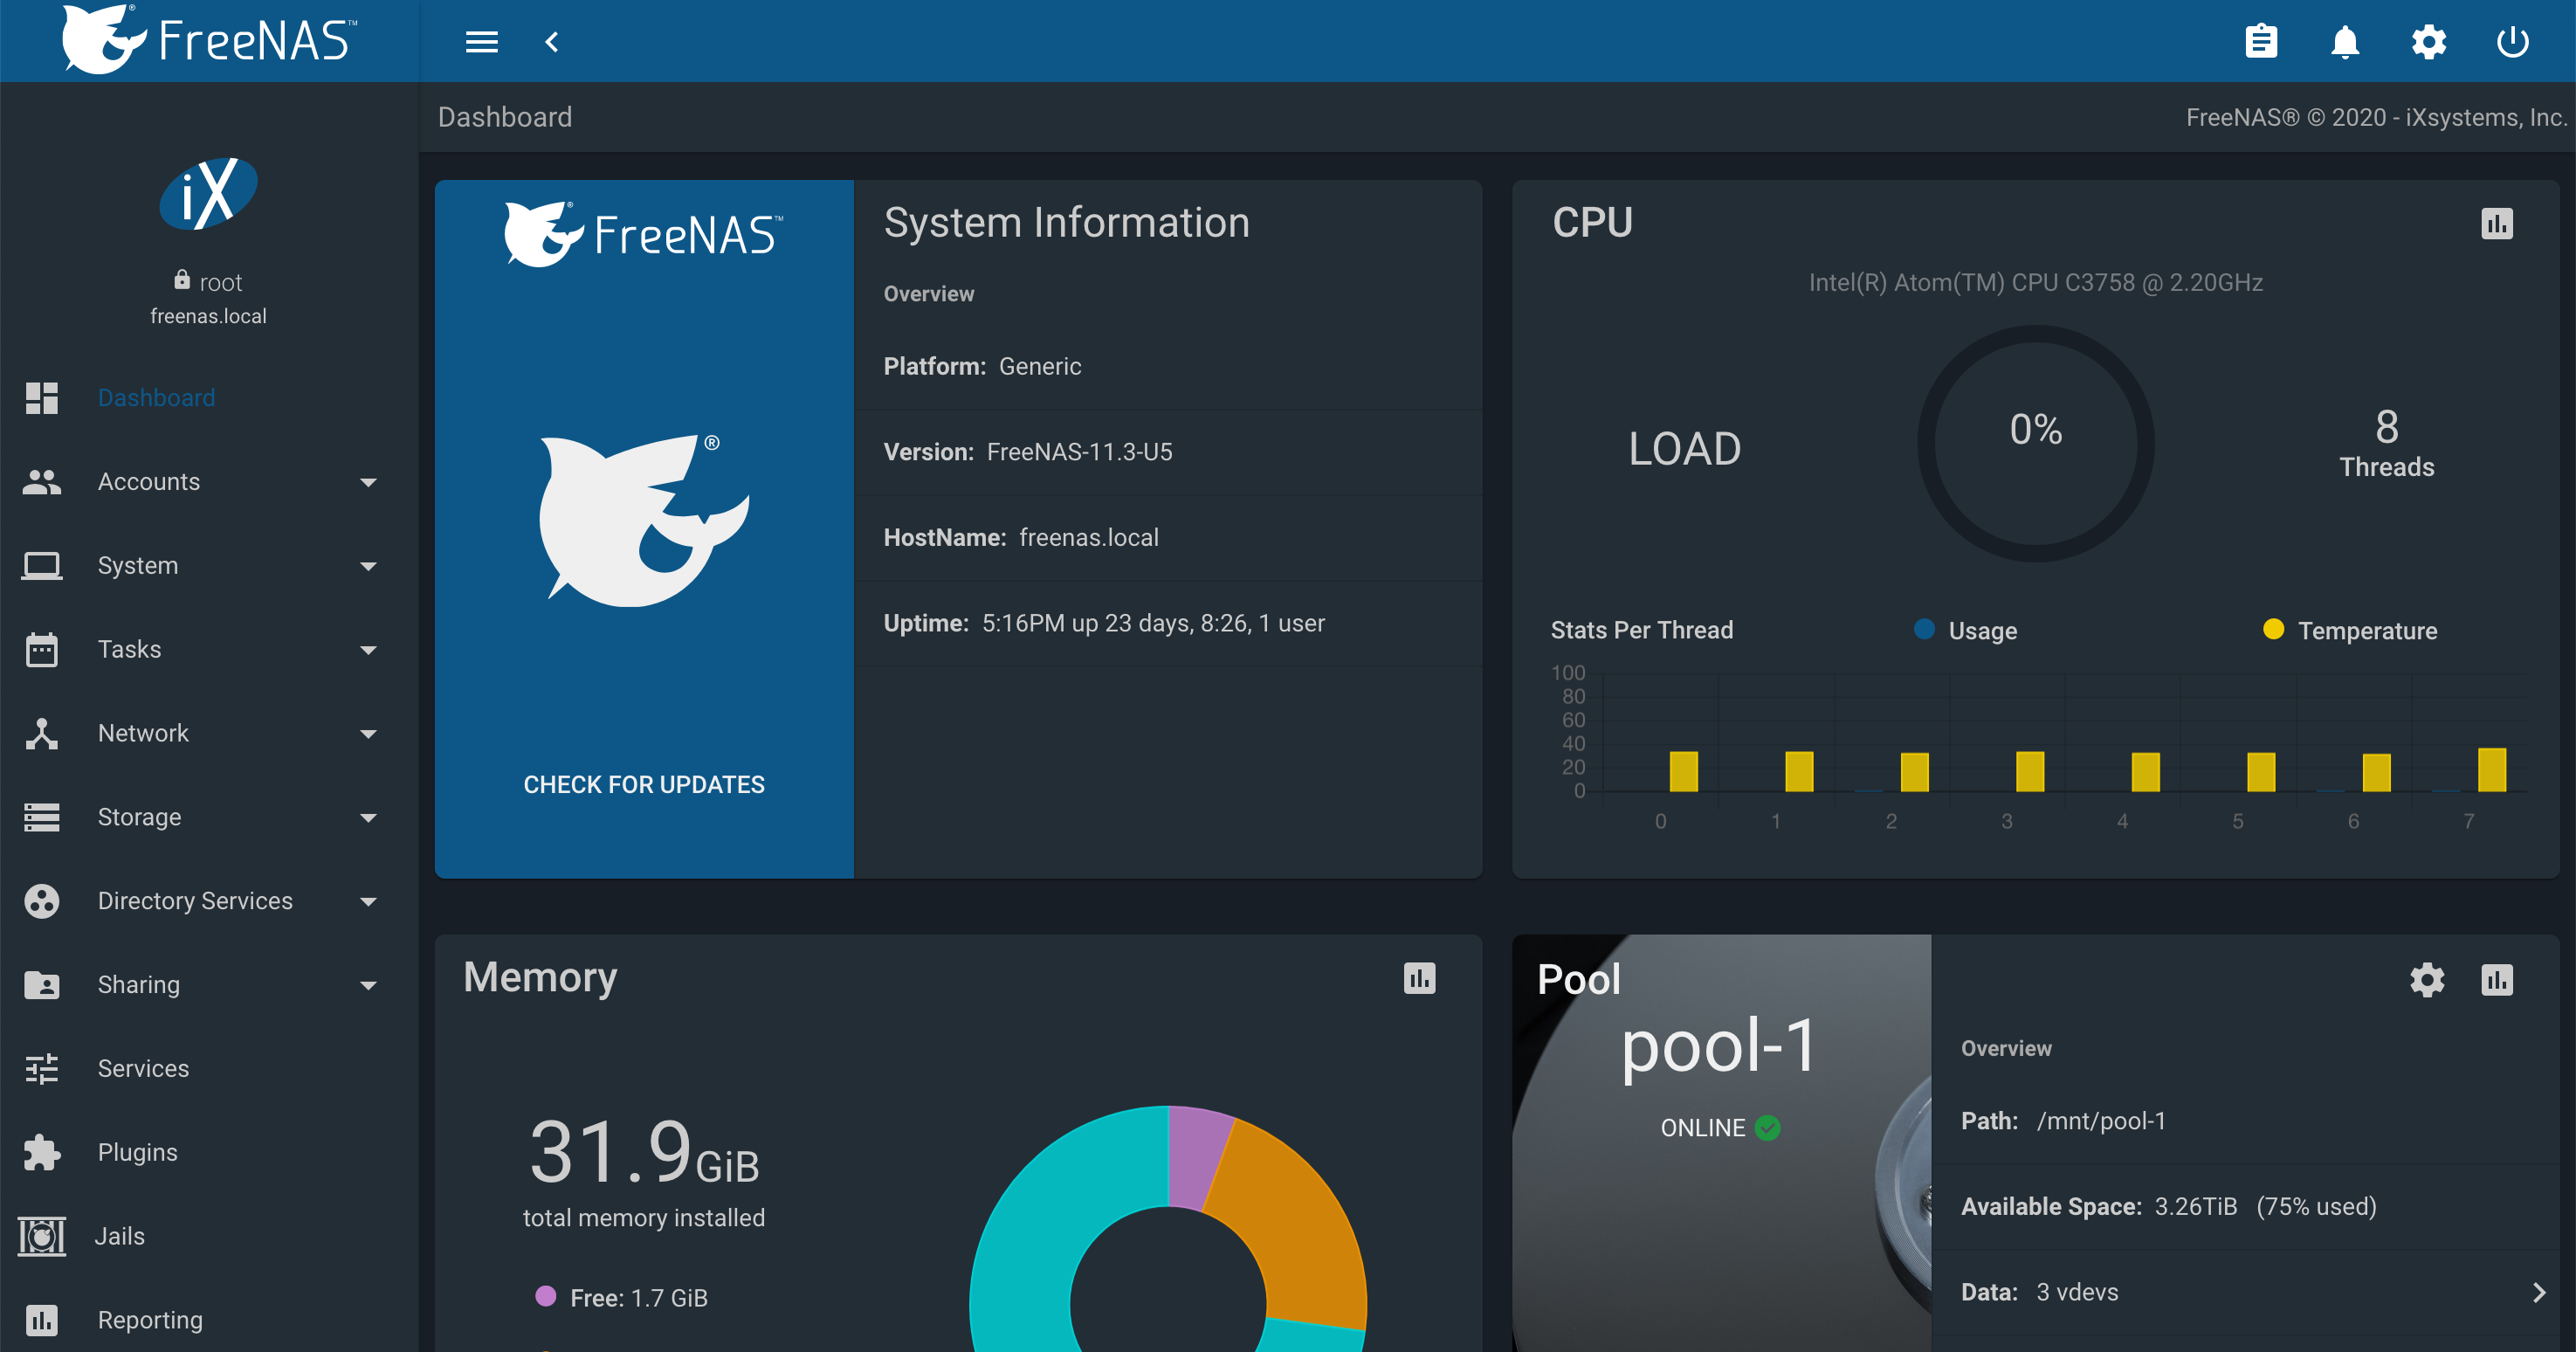
And you will be greeted by the dasboard!
Mirrored ZFS vdevs
For best-case resiliency, I went with mirrored ZFS vdevs instead of RAIDZ - this means that each drive is paired with a redundant mirror drive. The usable capacity goes down by half, but performance increases, data recovery is quicker, and re-silvering will not put undue strain on all the other drives - just the one mirror drive.
I could try to explain all the benefits of this drive setup over RAIDZ, but instead I’ll leave you with the blog post that convinced me.
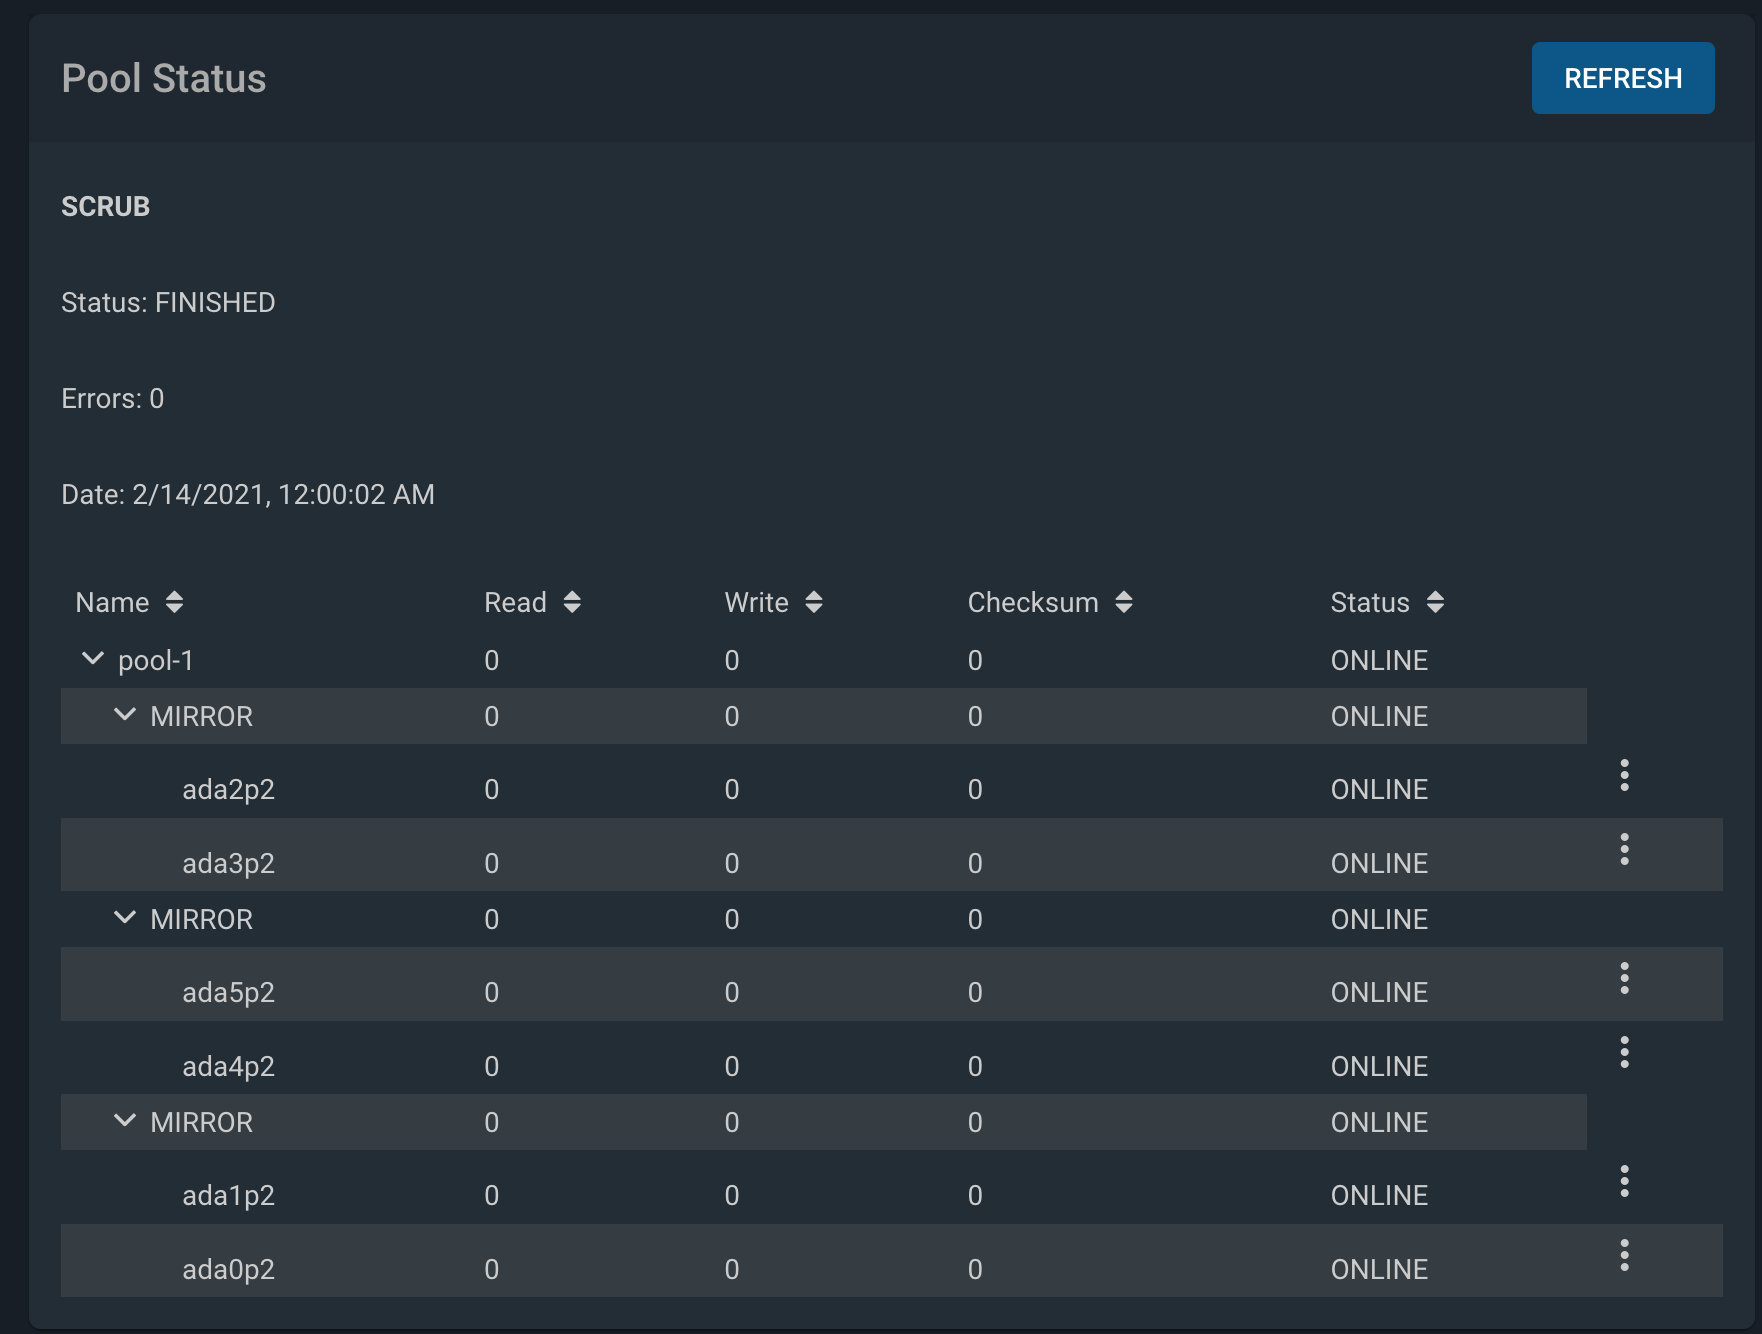
Given that I have 6 disks, I created 3 vdevs, each containing 2 disks:
The documentation for building a ZFS pool like this can be found here: ZFS Pools
Once that was done, it was simple work to add datasets to the pool.
Benchmarking
Now that I have the NAS set up, I’m interested in what kind of realistic performance I can get between different systems. The NAS is wired over Ethernet straight to my router, I have another server also wired over Ethernet to my router, and I use a MacBook Pro over wifi. I also occasionally use an adapter on my Mac that has an Ethernet port, so I’d like to test what that throughput looks like.
The Ethernet ports on the NAS only have a theoretical throughput of 1GbE (1000BASE-T), so I’ll be comparing actual throughput against that.
All of this testing will be done with a CLI tool called fio (Flexible Input/Output tester). In researching how to properly benchmark, I came across this amazing Ars Technica article that does an excellent job explaining the problems with most benchmarking, and how to properly conduct a file I/O benchmark test. These tests will follow the article and are broken up into 3 sections:
-
4K random I/O, which is worst-case usage (lots of small file writes)
Command:
fio --name=random-write --ioengine=posixaio --rw=randwrite --bs=4k --numjobs=1 --size=4g --iodepth=1 --runtime=60 --time_based --end_fsync=1 -
64K random I/O in sixteen parallel processes, a “middle-of-the-road workload for a busy computer”, so closer to regular heavy usage
Command:
fio --name=random-write --ioengine=posixaio --rw=randwrite --bs=64k --size=256m --numjobs=16 --iodepth=16 --runtime=60 --time_based --end_fsync=1 -
high-end throughput with 1MB random I/O, which is closer to best-case usage
Command:
fio --name=random-write --ioengine=posixaio --rw=randwrite --bs=1m --size=16g --numjobs=1 --iodepth=1 --runtime=60 --time_based --end_fsync=1
I’ll run these 3 tests in these following scenarios:
- I/O between the NAS and a Linux server (NFS mount), both over 1GbE. This will likely give results that show a best-case usage scenario
- I/O between NAS and Mac over wifi (NFS mount). This will likely show worst-case results.
- I/O between NAS and Mac over Ethernet through an adapter (NFS mount)
In some ways, this test will be heavily influenced by the performance of NFS across the several different scenarios.
For reference, 1GbE is 1000 Mbit/s (Megabit/s). That translates to exactly 125 MB/s (Megabyte/s) or around 119.21 MiB/s (Mebibytes/s). I’ll be comparing against the latter data rate since it’s base 2 instead of base 10.
Results:
- NAS <–> Linux server (NFS mount)
-
4K random I/O
WRITE bandwidth: 23.0MiB/sNetwork utilization: 19.29% -
64K random I/O w/ sixteen parallel processes
WRITE bandwidth: 44.1MiB/sNetwork utilization: 36.99% -
1MB random I/O
WRITE bandwidth: 80.5MiB/sNetwork utilization: 67.53%
-
- NAS <–> Mac over wifi (NFS mount)
-
4K random I/O
WRITE bandwidth: 3180KiB/sor3.11MiB/sNetwork utilization: 2.6% -
64K random I/O w/ EIGHT (macOS can’t allocate more) parallel processes
WRITE bandwidth: 13.7MiB/sNetwork utilization: 11.49% -
1MB random I/O
WRITE bandwidth: 17.6MiB/sNetwork utilization: 14.76%
-
- NAS <–> Mac over Ethernet (NFS mount)
-
4K random I/O
WRITE bandwidth: 2994KiB/s, or2.92MiB/sNetwork utilization: 2.45% -
64K random I/O w/ EIGHT (macOS can’t allocate more) parallel processes
WRITE bandwidth: 24.1MiB/sNetwork utilization: 20.22% -
1MB random I/O
WRITE bandwidth: 30.8MiB/sNetwork utilization: 25.84%
-
Most of the numbers make sense. Ethernet to Ethernet conenctions are clearly the fastest, with best case scenario usage nearing 70% of total possible thoroughput. (Remember, each individual drive’s transfer rate is 133.51 MiB/s, so the network is the bottleneck at 119.21 MiB/s.)
The one interesting anomaly is how 4K random I/O was faster over wifi with my Mac then when using the Ethernet adapter. I couldn’t exactly figure out why, but my suspicion is to blame the controller chip(s) in the adapter. Otherwise, massive transfers & heavy I/O workloads still outperformed on the Ethernet adapter than on the wifi.
Overall, I’m happy with the results. I can use this list to estimate the theoretical best-case performance when transferring files across the NAS, and plan ahead for how long they’ll take.
TrueNAS
Recently, iXsystems decided to merge their commercial TrueNAS offering with FreeNAS, while offering all the same FreeNAS functionality under the new TrueNAS CORE version. Installation and general usage is identical, so this guide will still be accurate and applicable.